Guide to King Tide Photography at Cape Disappointment, Washington State
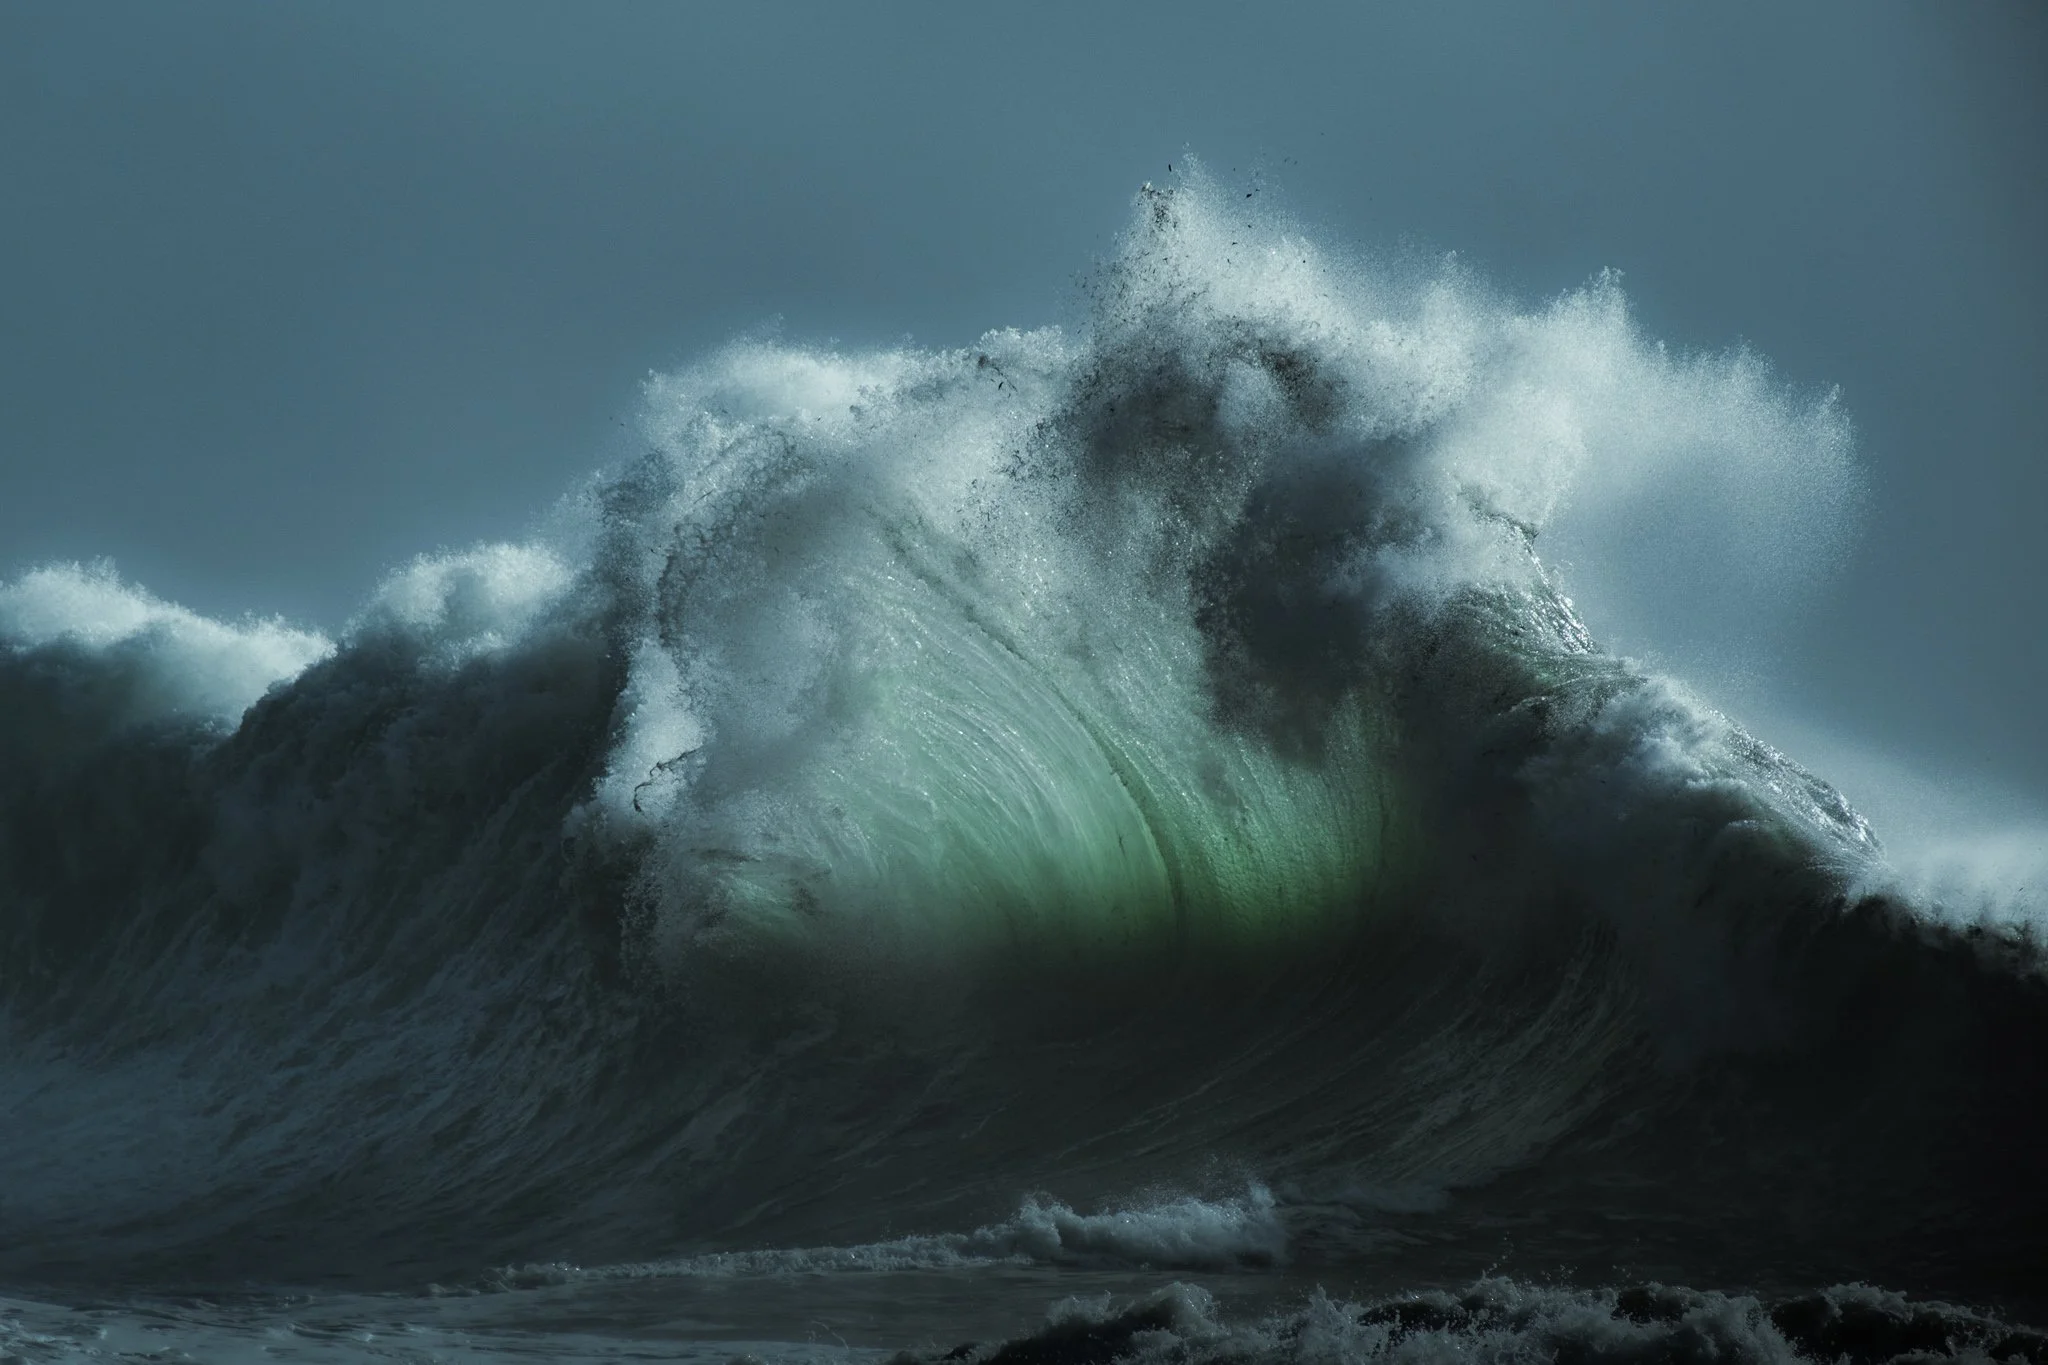
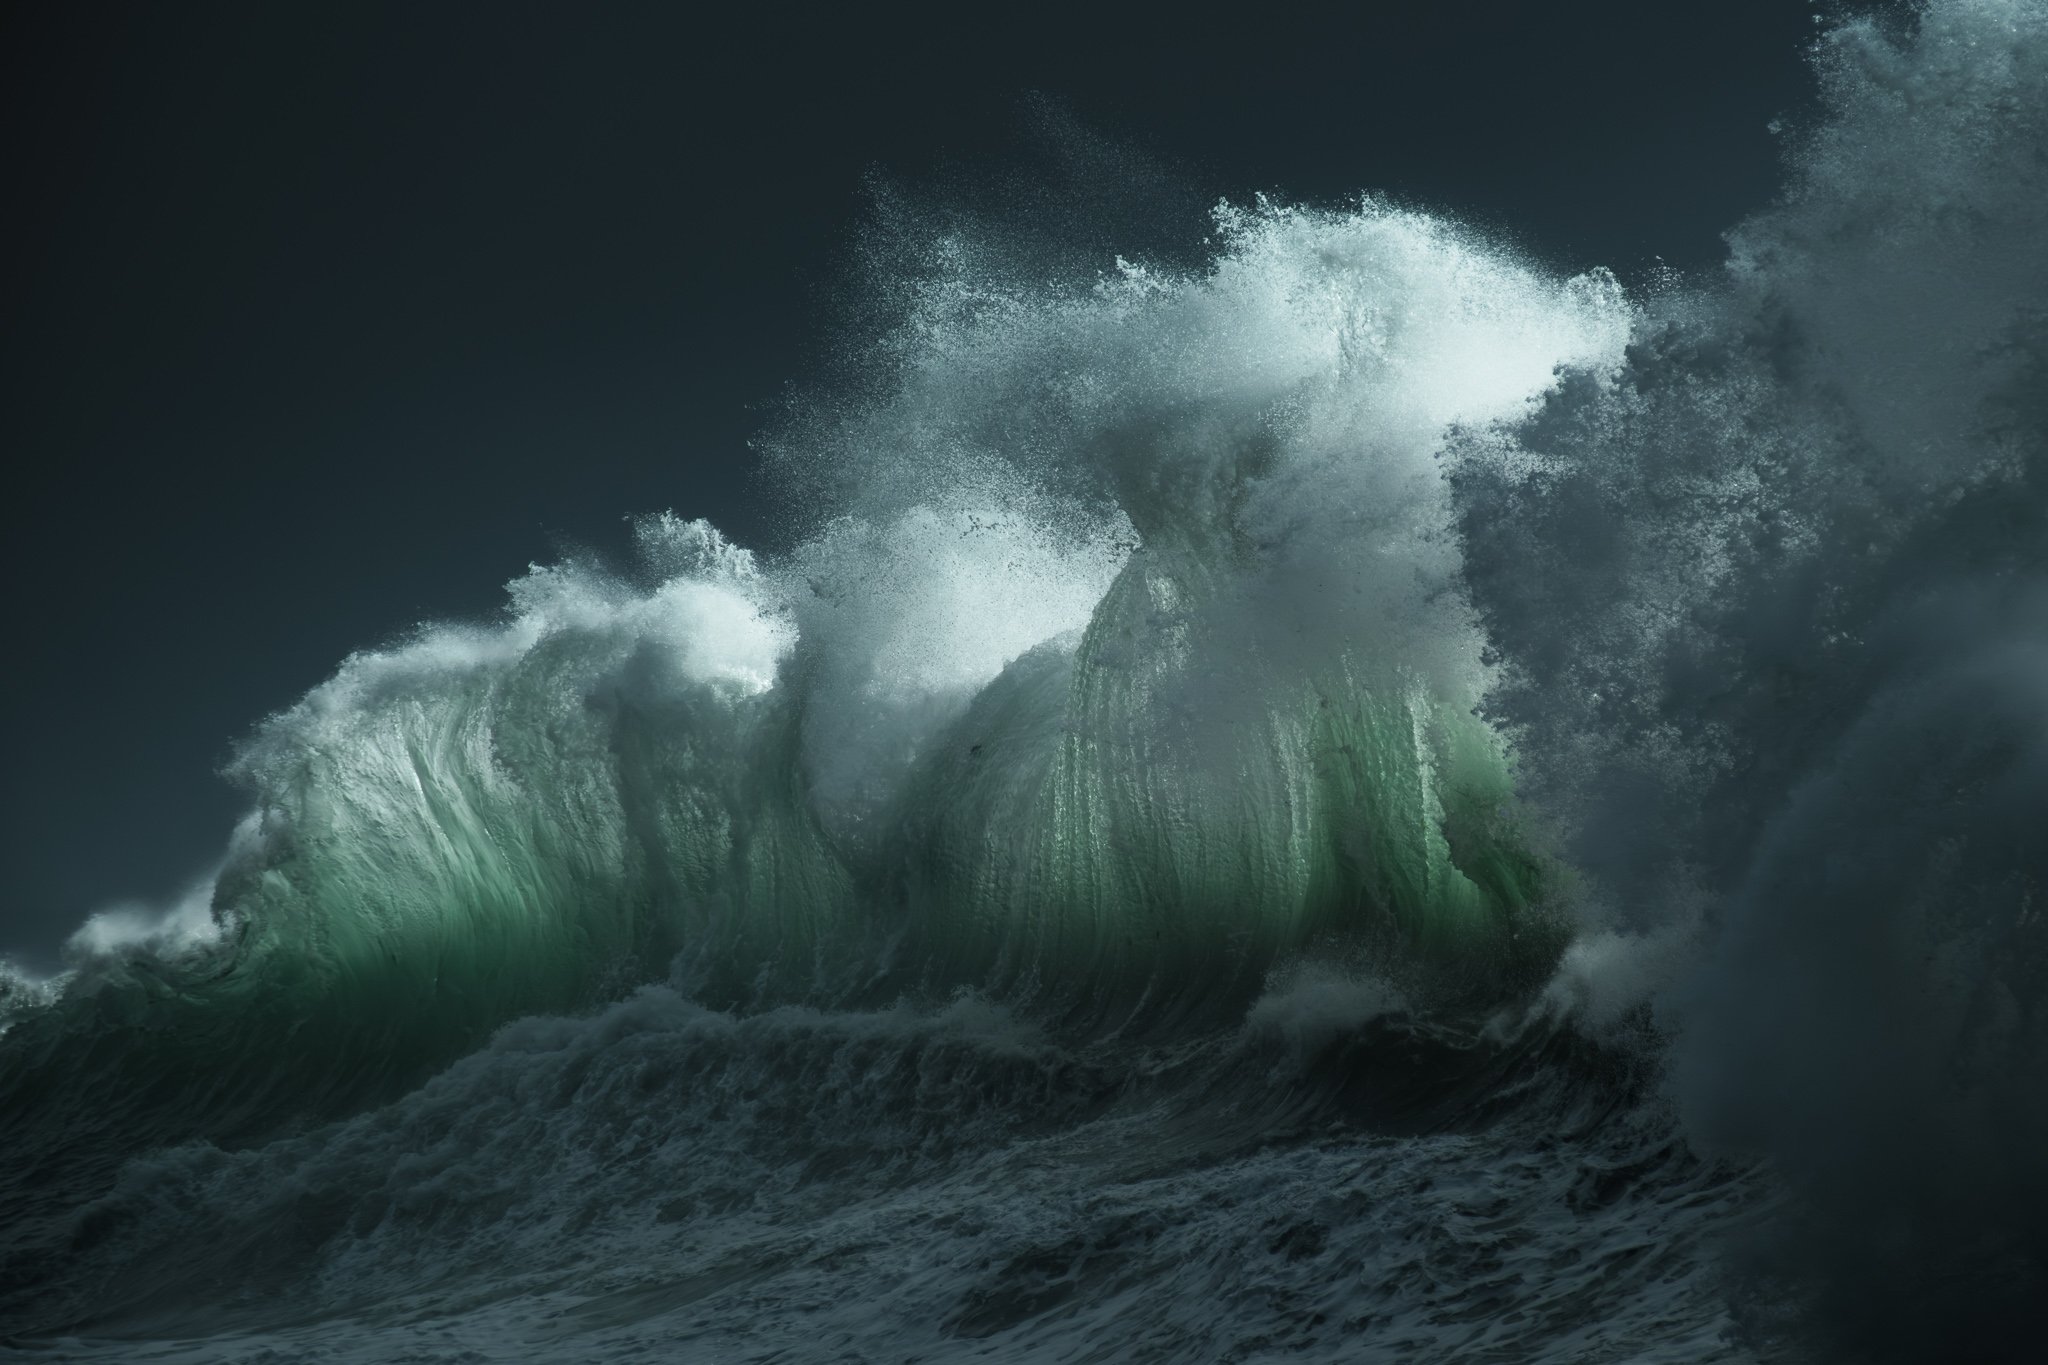
A surging wave backlit by the late morning sun peeking through the cloud cover.
What Are King Tides?
For those photographers and thrill seekers looking to view the King Tides this winter in Washington and even Oregon, Cape Disappointment is a great place to experience this magnificent sight.
In the Pacific Northwest, King Tides occur from November to February. These are exceptionally high tides that bring stronger waves and dramatic conditions to the rocky coastlines along the Northwest.
When these conditions align, the photographic conditions along the coast are legendary, and well worth the journey.
This past winter, I spent some time on the coastline photographing these King Tides in January, while staying in the nearby town of Astoria (GOOOOONIES).
Here’s a short guide on how to accurately and safely photograph them.
Check Conditions Before You Go
King Tides are amazing, but also extremely dangerous if you are unprepared. These are not fall colors in your local park. These waves are massive, and the beaches where you can view them can easily be hazardous. Be sure to check the following conditions.
Tide predictions: Plan around the high-tide window, but arrive early so you can scout safely.
You want to arrive at Waikiki Beach a few hours before the highest tide time, these parking lots can fill up quickly, so best to be here early to secure a spot.
This is where you will find the infamous view of the lighthouse with the waves in the foreground.
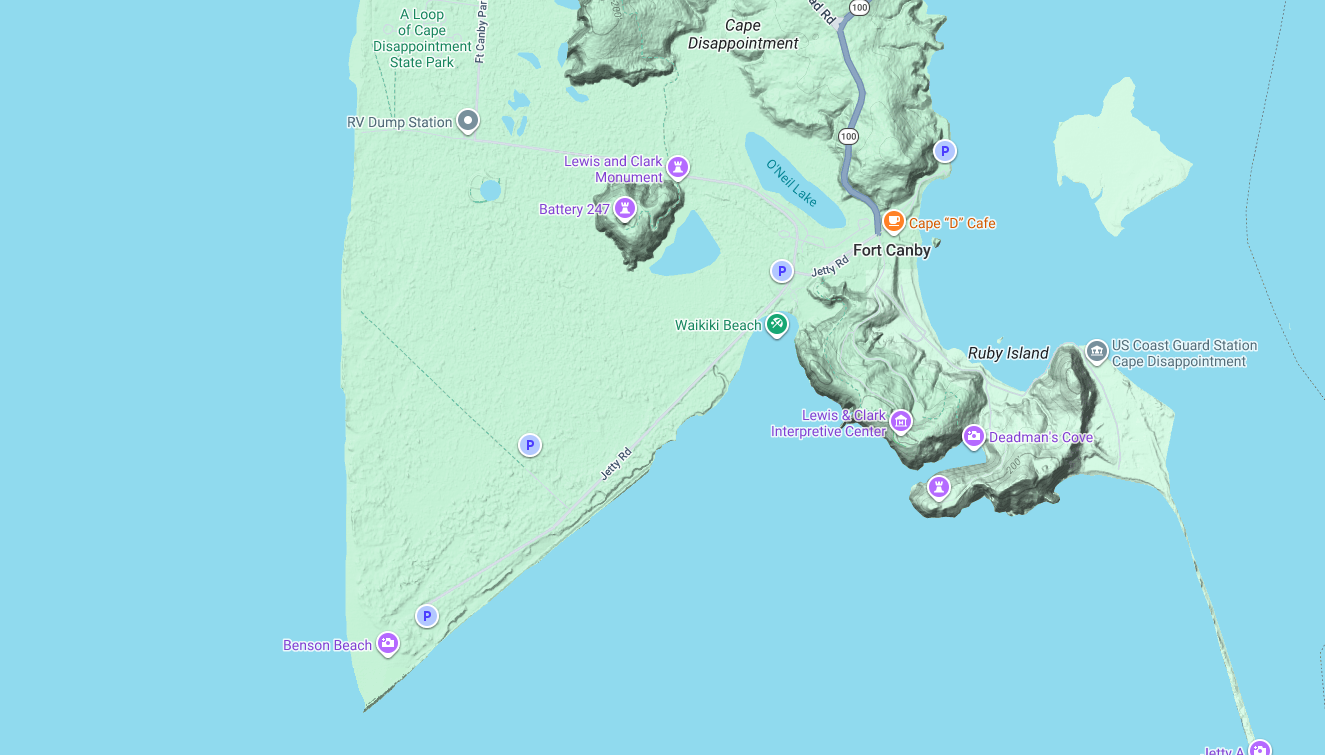
Map showing Waikiki Beach and Cape Disappointment
Planning
You will also want to check park conditions here at Washington Parks Gov website.
Tide Charts: https://myforecast.co/bin/marine_forecast.m?city=K82S&metric=false
Weather Forecast: https://www.windfinder.com/#12/46.2856/-124.0271/spot
Also be sure to check weather forecast and when the king tides will occur. Any tide chart for Cape Disappointment will show these.
I would not recommend trying to photograph the King Tides in heavy rain, even with a rain cover for your camera, it will be wet wet wet, and you do not want to ruin your gear.
Here is the rain cover I use for my camera: https://www.thinktankphoto.com/products/emergency-rain-cover-large
This will work well for light to medium rainfall, and the ocean spray. I used a 70-300mm lens, and this worked perfectly for my wave photography.
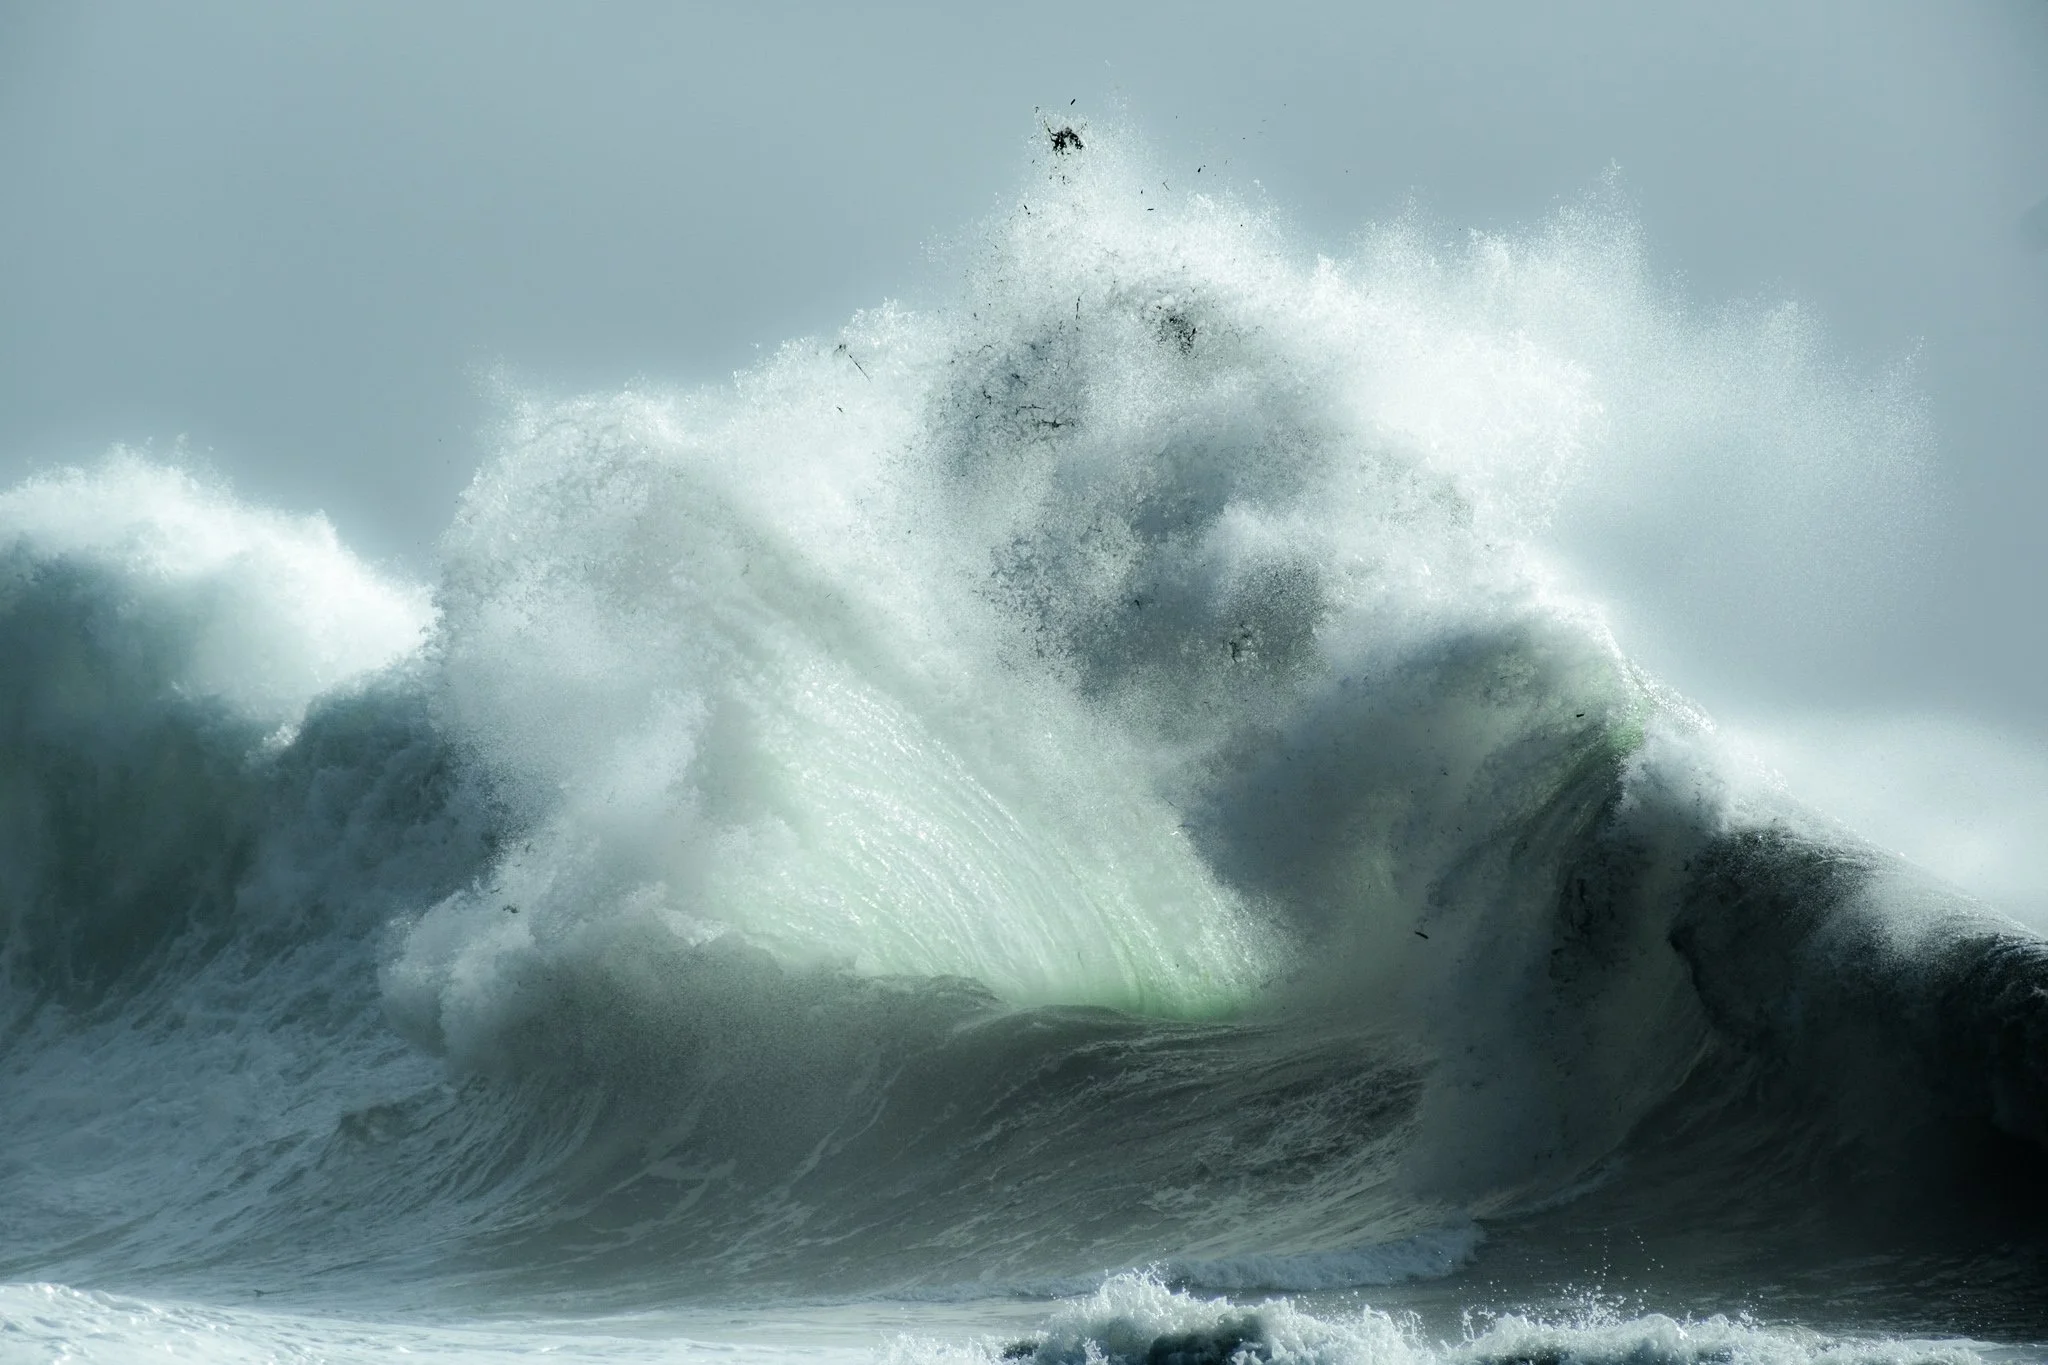
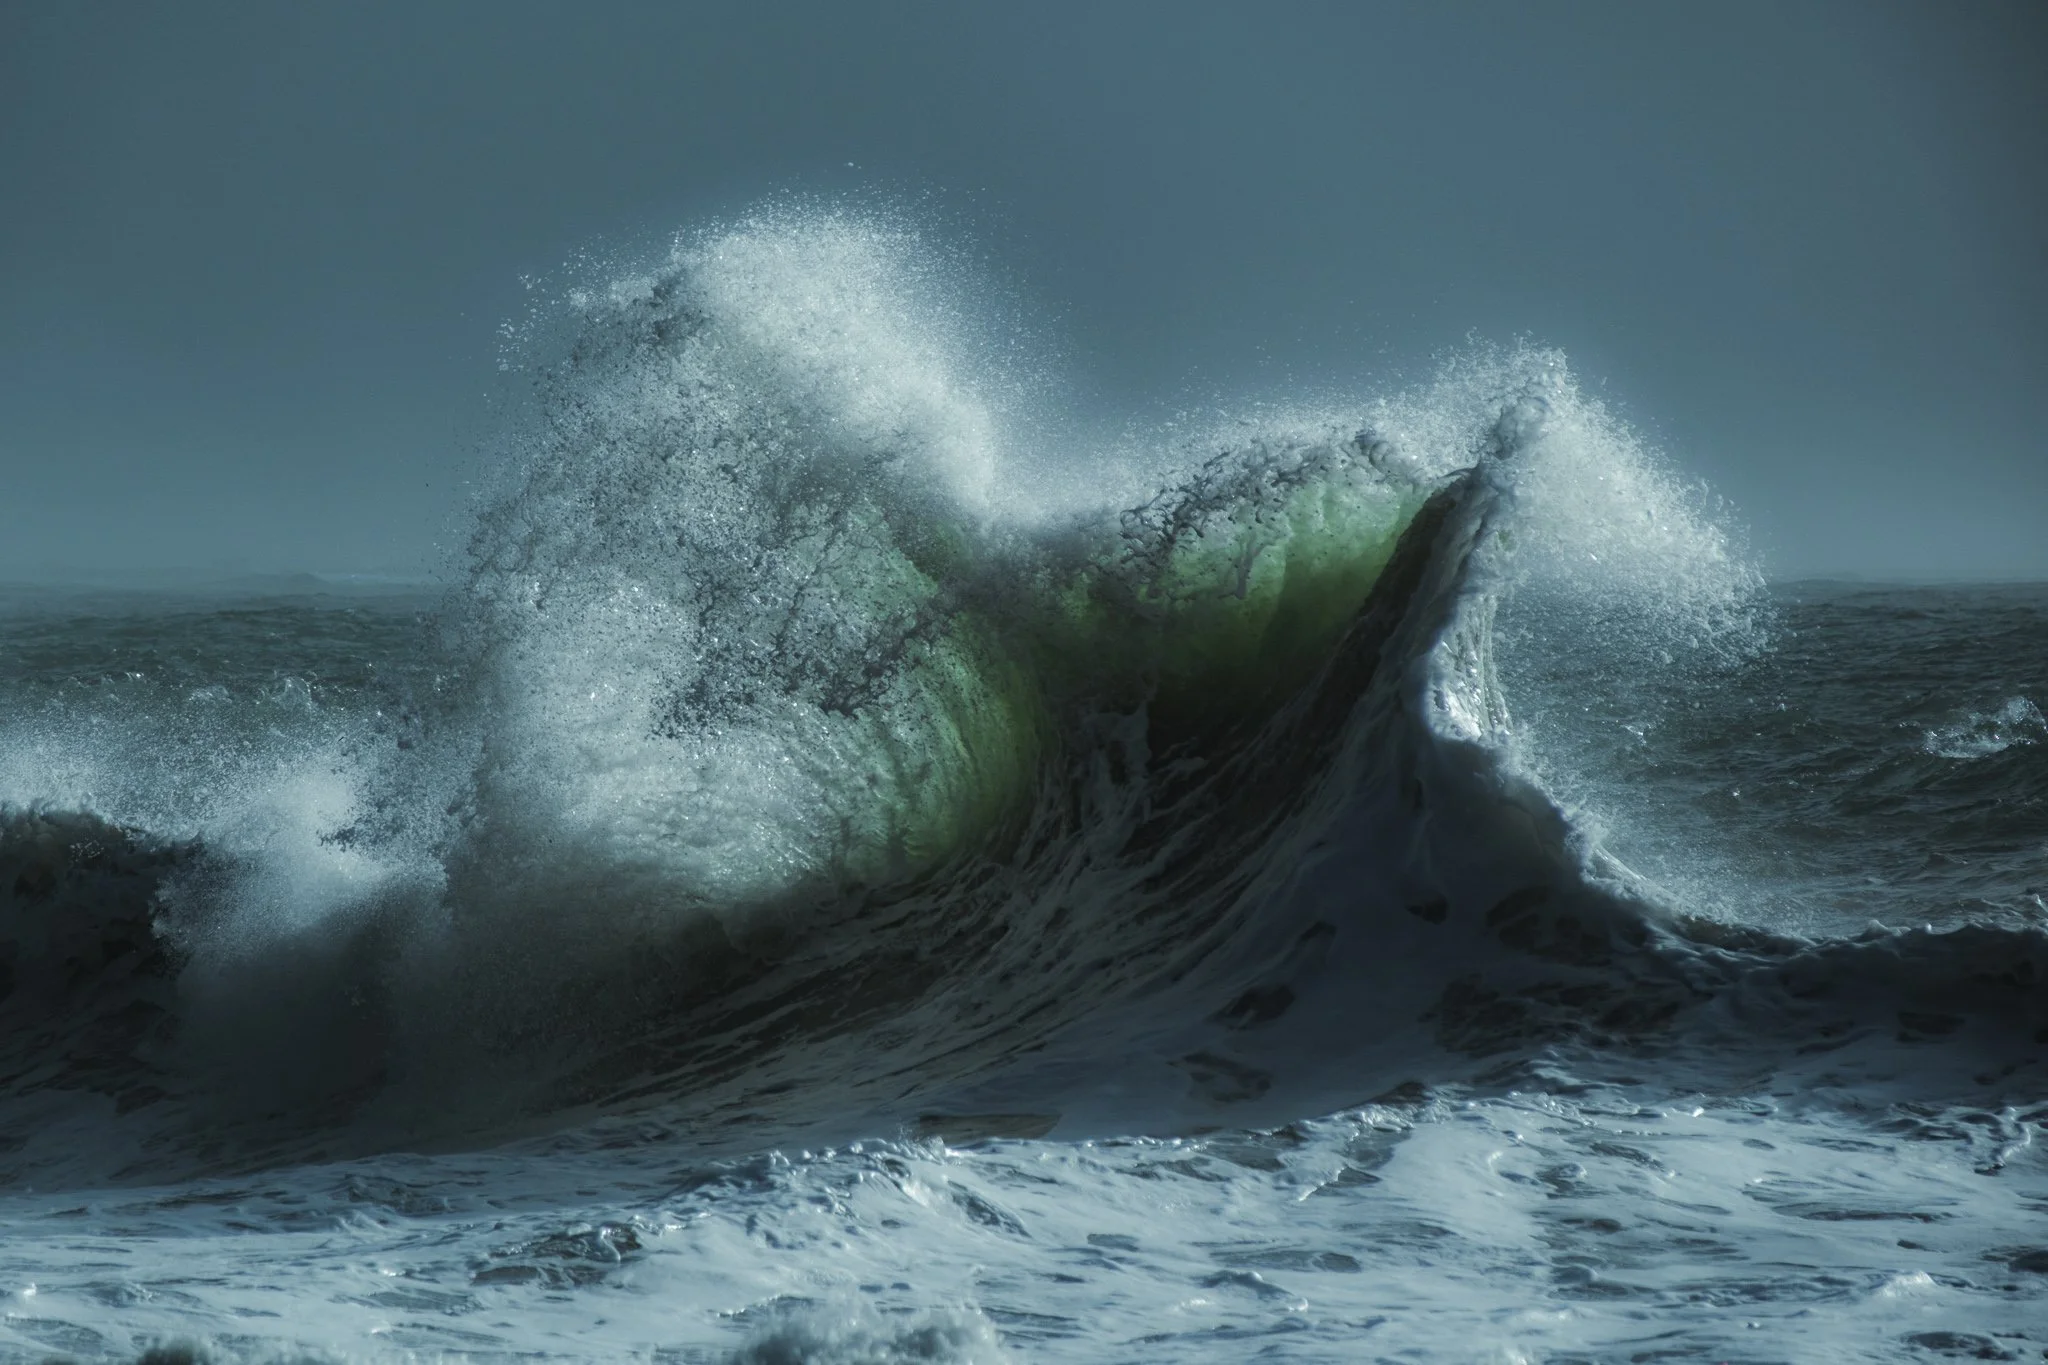
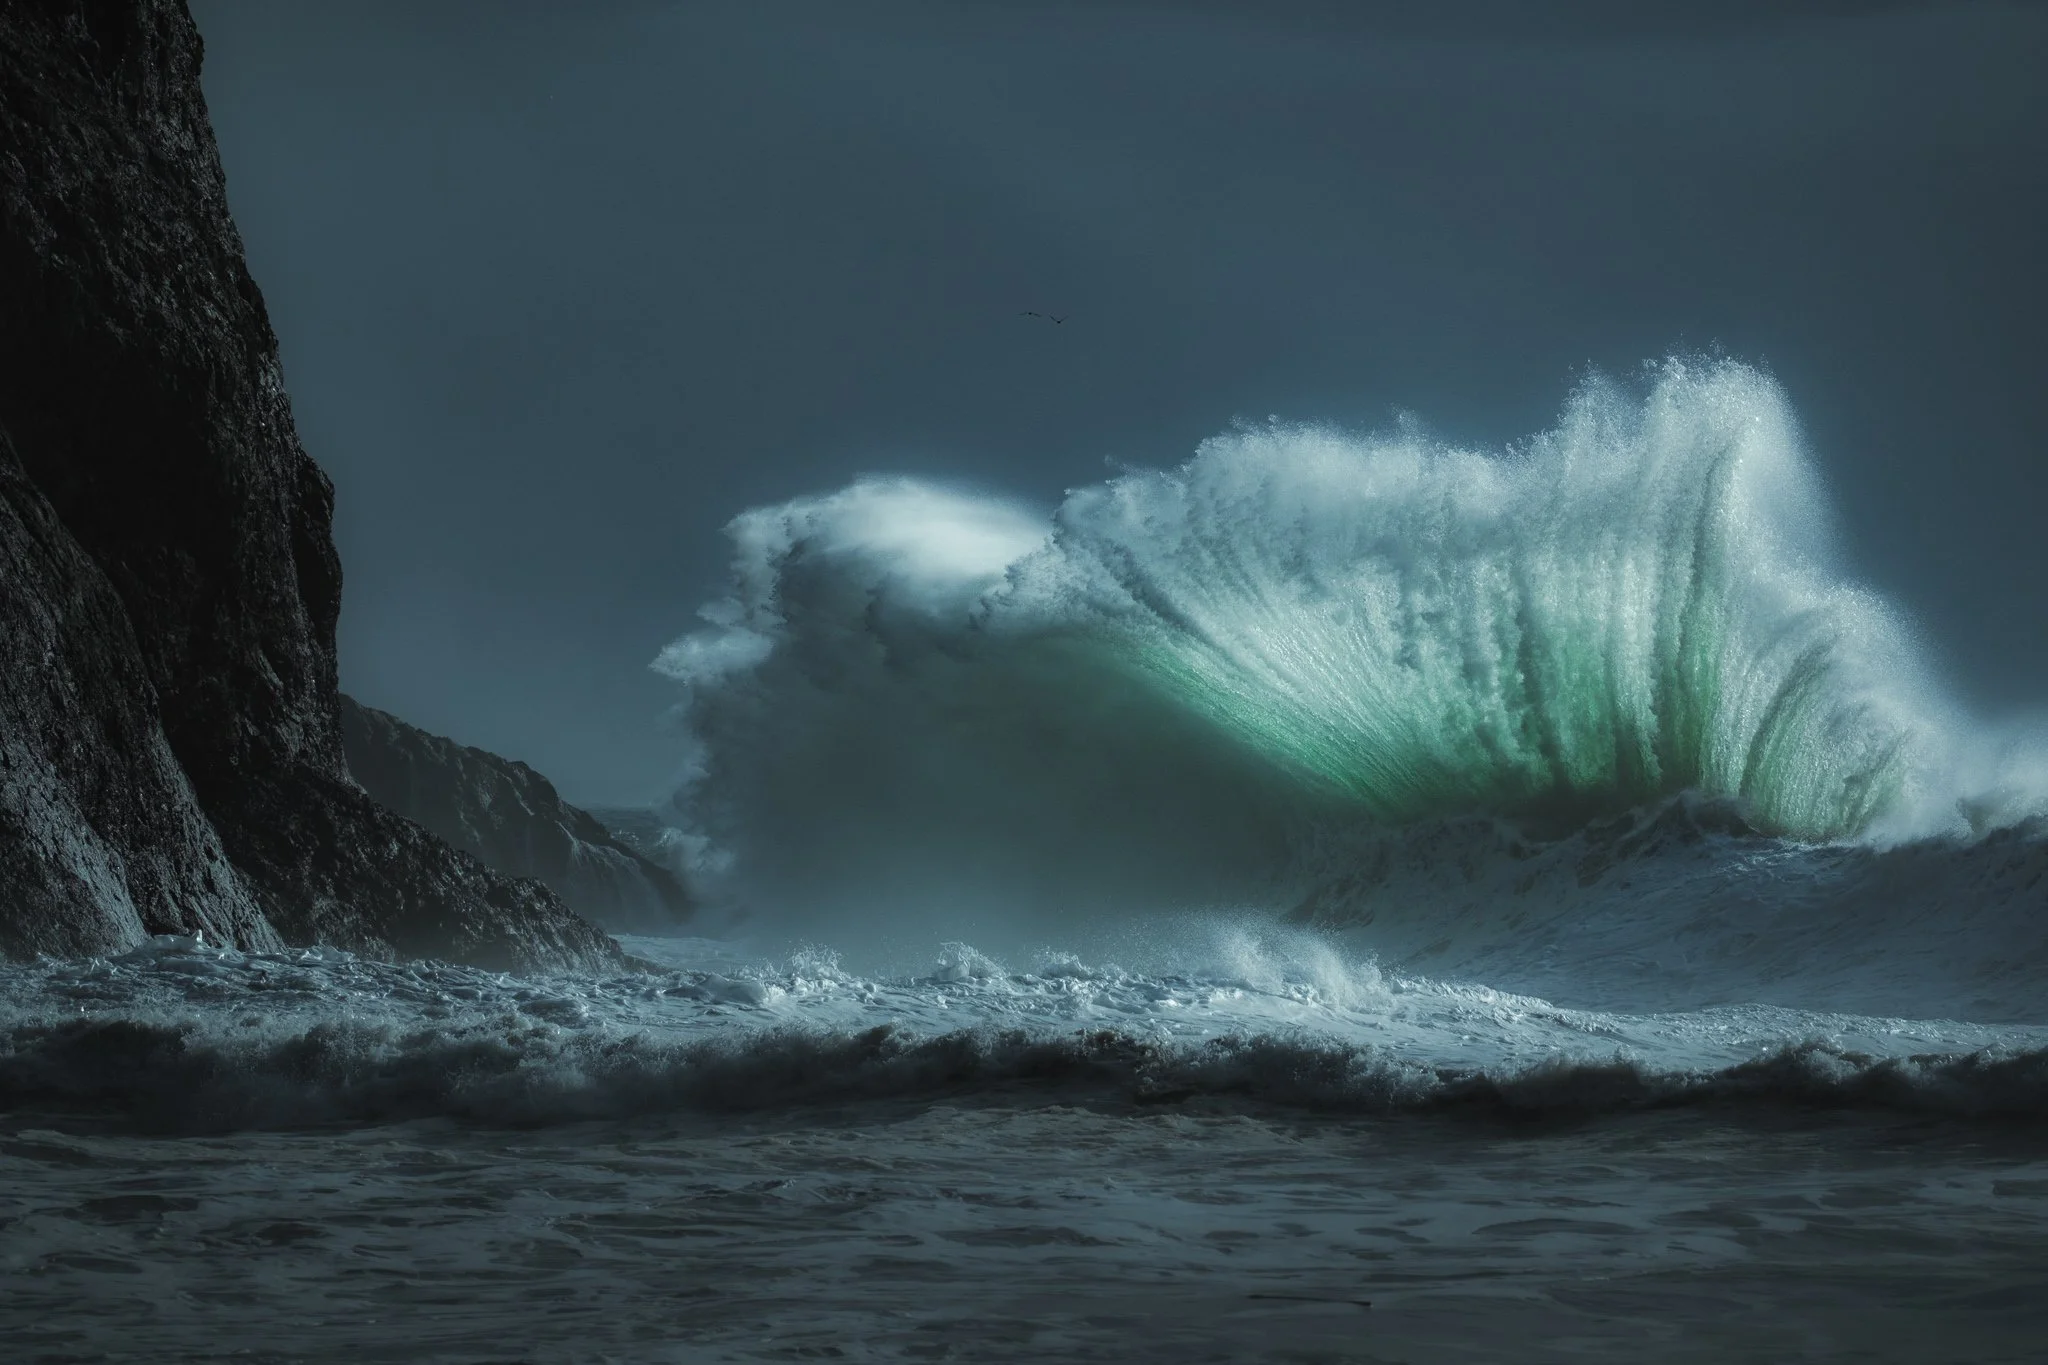
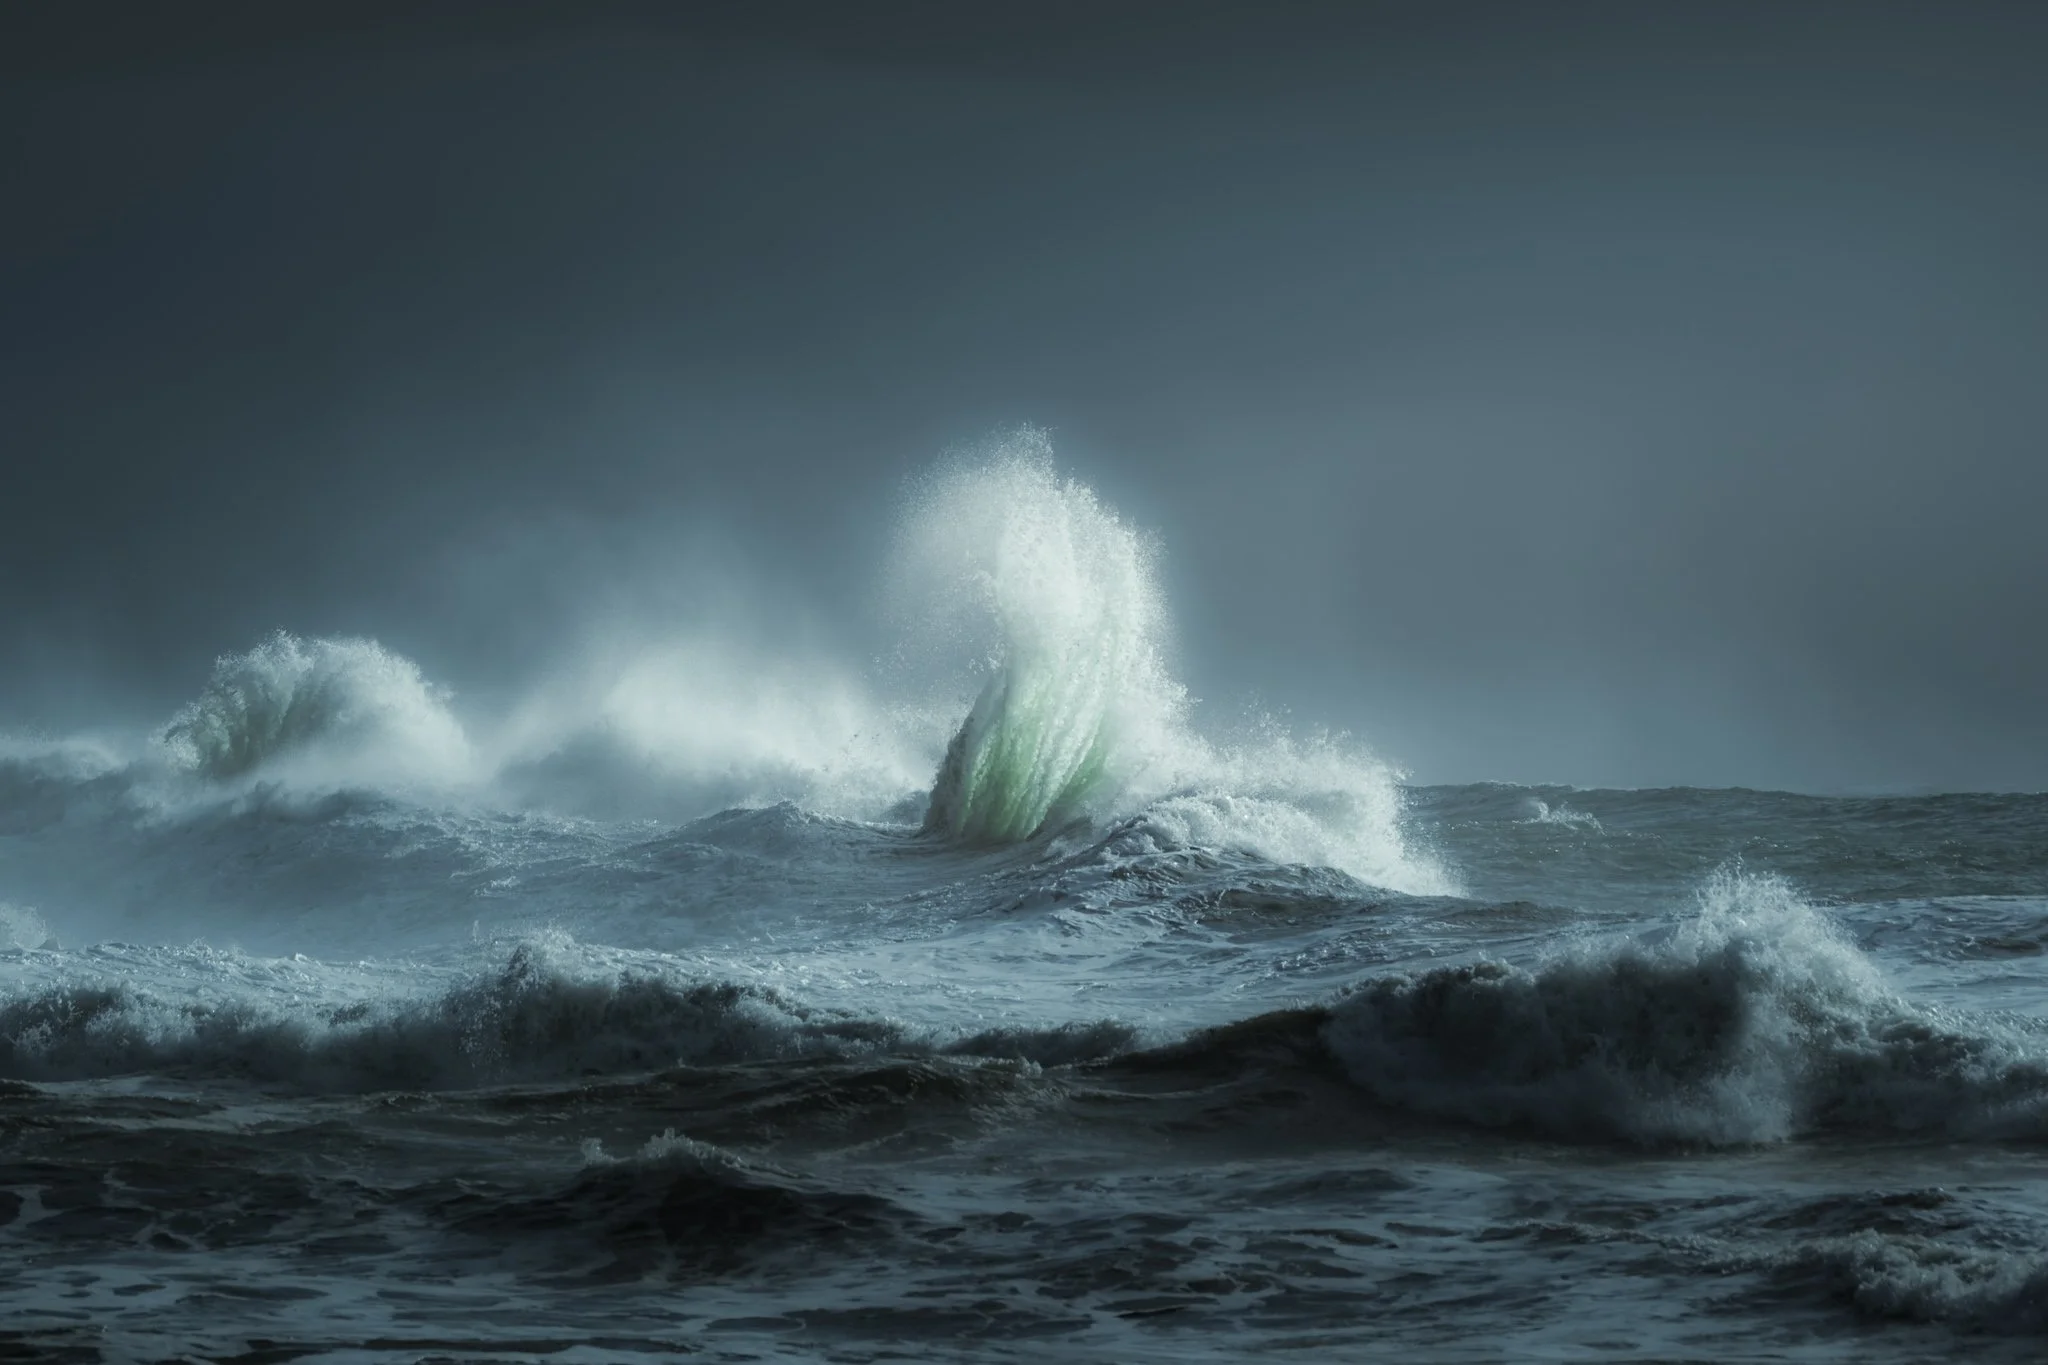
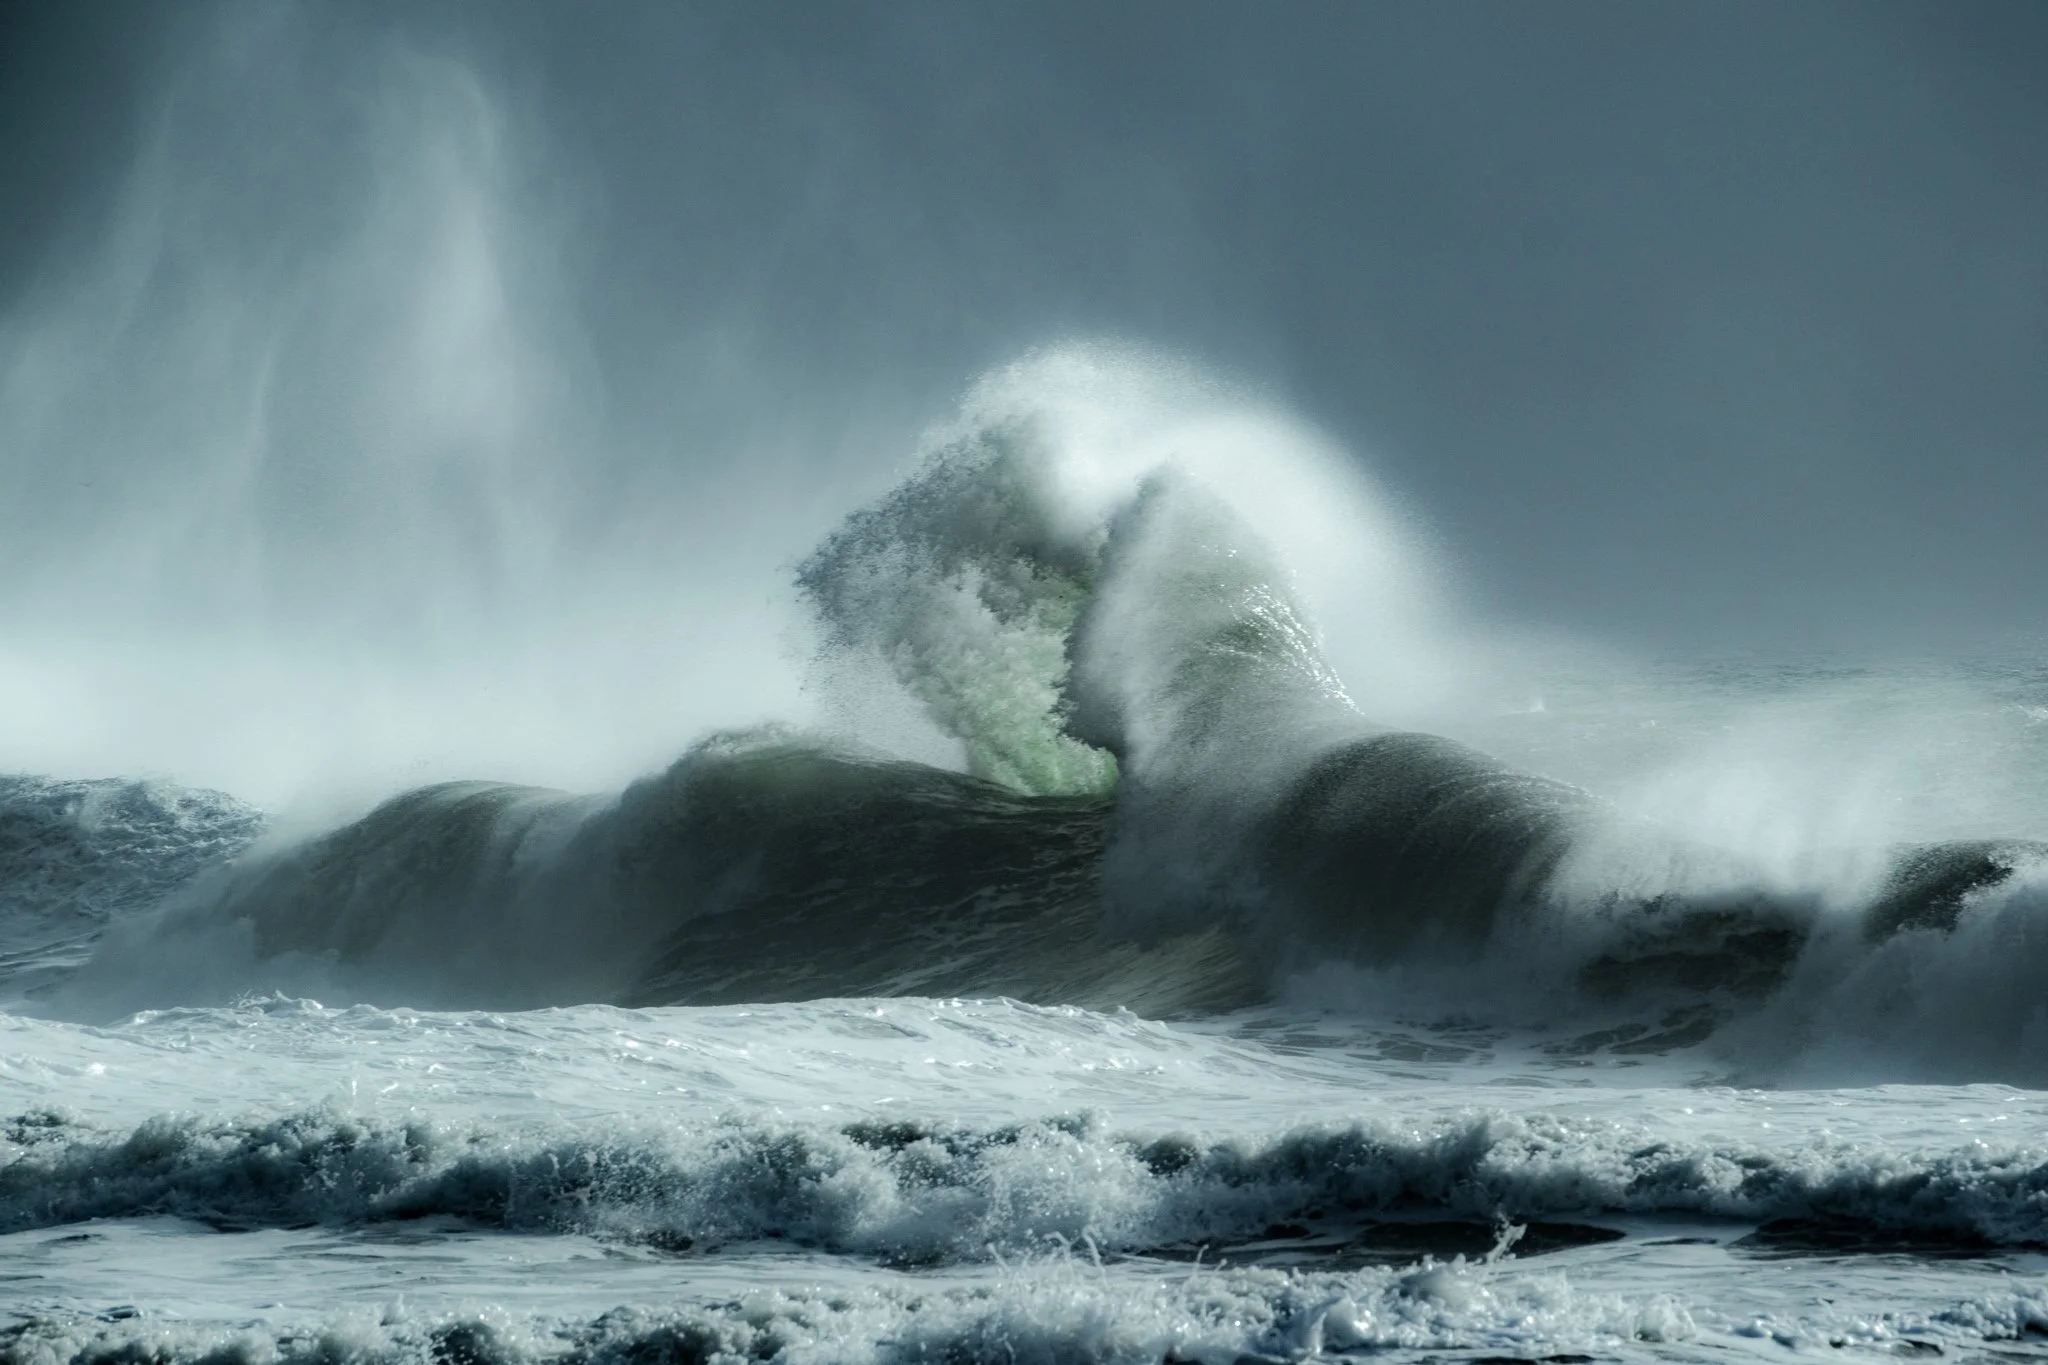
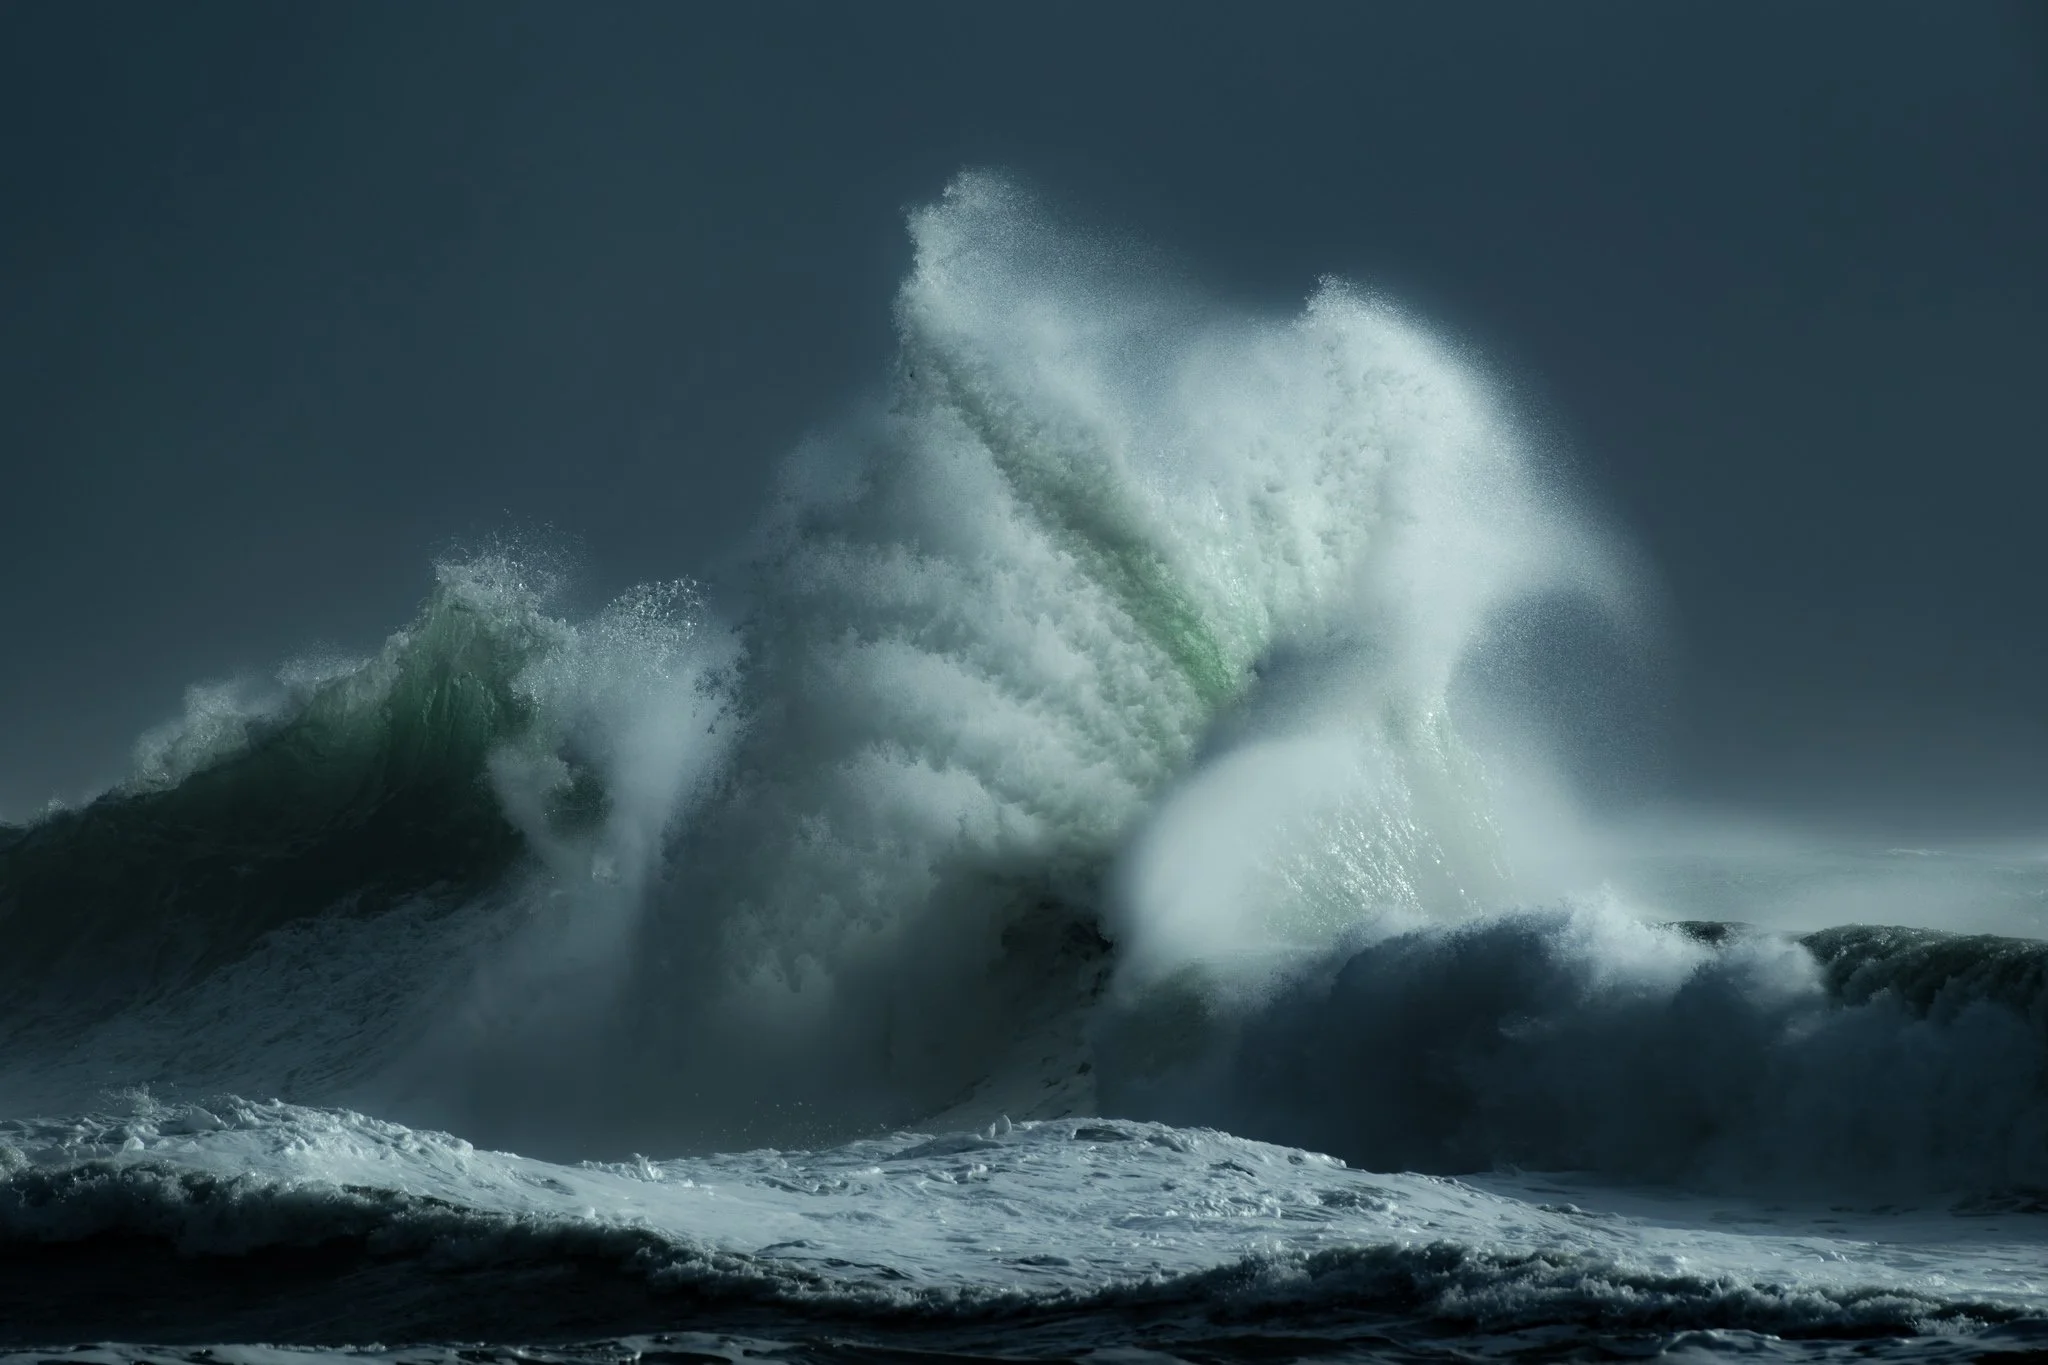
Wave Photography, shot with Fujifilm X-H2 and 70-300mm Fuji lens.
Safety Comes Before the Shot
Cape Disappointment is beautiful, but also wild. Never turn your back on the ocean, and never step onto wet rocks, jetties, driftwood piles, or areas close to the surf zone.
A few essential rules:
Stay well back from the waterline.
Watch the ocean for several minutes before choosing a shooting location. Sneaker waves are a thing, it’s good to step back to get a good idea on how the ocean is acting that day. Larger waves can arrive unexpectedly.
Avoid isolated rocks, low beaches, and places where a rising tide could cut off your exit. The bluff at Waikiki Beach seems like a good viewing spot, but I have seen waves smash up and over and swipe people off their feet.
Keep children, pets, tripods, and camera bags away from the edge of the surf. Depending on how turbulent the ocean is, I would recommend keeping your backpack on so you can quickly move out of the way while grabbing your tripod.
If conditions feel questionable, move to higher ground or leave. Always better to be safe than sorry.
Wave Photography, shot with Fujifilm X-H2 and 70-300mm Fuji lens.
Camera Settings for Wave Photography
There is no single correct setting; choose based on the light, conditions, and what sort of shot you want to achieve. My goal for the day was freezing waves in action, so I was using a 1/2000 to make sure the fast-moving waves were in focus.
A good starting point for handheld storm photography:
Shutter speed: 1/1600 - 1/2000 depending on light
Aperture: f/5.6 to f/7.1
ISO: Adjust as needed for available light
Focus mode: Single Point Autofocus in the middle of the frame. Zone autofocus will work, but I found the swells and sprays confused the system a few times
Drive mode: Burst/continuous shooting. (I used 10 shots per second) Enough to get some options to choose from, but not to overload my storage.
Wind is often strong at the cape, so stabilize your tripod, keep it low when possible, and avoid extending the center column. I was shooting at just below eye level. There are plenty of tripods out there, but I would discuss options at a camera store and ask about getting a more sturdy model.
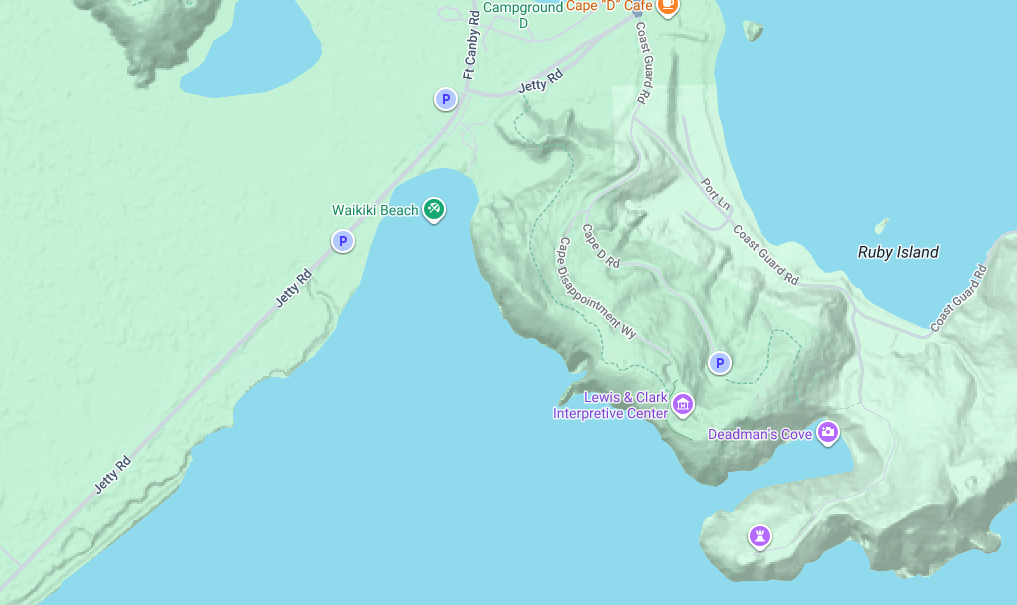
While the main parking lot just next to the Waikiki Beach icon here is the best, you would be totally fine parking just north next to the visitor center and walking down. I actually found a good side spot between the two parking lots which gave me a bit more room away from the crowds.
Bring the Right Gear
Washington coastal weather can change rapidly. A practical kit includes:
Weather-sealed camera body or rain cover (Thinktank)
Lens hood (Protect your lens from side spray)
Microfiber cloths and spare dry towels (saltwater is bad for any camera gear, make sure to wipe as you go)
Wide-angle lens for big skies and foreground drama (Good to have the option for wide shots, and close up shots)
Telephoto lens for distant waves, lighthouses, and compressed perspectives
Tripod
Neutral-density filter for slower shutter speeds
Extra batteries, stored somewhere warm and dry
Waterproof footwear and layered rain gear (A Northwest staple)
Photograph Responsibly
King tides are part of a changing coastal environment. Respect closures, stay on designated routes, avoid sensitive dune areas, and leave the shoreline as you found it.
If you are photographing with friends or guests, make safety part of the experience: identify safe viewpoints, discuss exit routes, and agree that anyone can call for a move to safer ground at any time. No photo is worth injury. These waves in storm conditions are no joke.
Make a Day of It
A king tide photography outing at Cape Disappointment can be more than a quick stop. Arrive early, scout in daylight, photograph through changing weather, and allow time to explore the area’s forests, historic sites, viewpoints, and lighthouse scenery. I would go to the beach a few hours before high tide to survey conditions. There were several days where the skies were dark, and the waves were not as epic as I wanted, so I waited it out, and finally got my opportunity just after high tide when the sun made an appearance.
The best images often come from patience. The park has plenty more photo opportunities and fun things to see.
Where to stay to see the King Tides
I would recommend staying south around 35 minutes in Astoria, Oregon. There are many great hotels in town, and the charm of this coastal town is incredible.
The Bowline Hotel: https://adrifthospitality.com/bowline-hotel/
This hotel is comfortable and in the heart of downtown. There will be sea lions barking all night, just beware.
More of Cape Disappointment
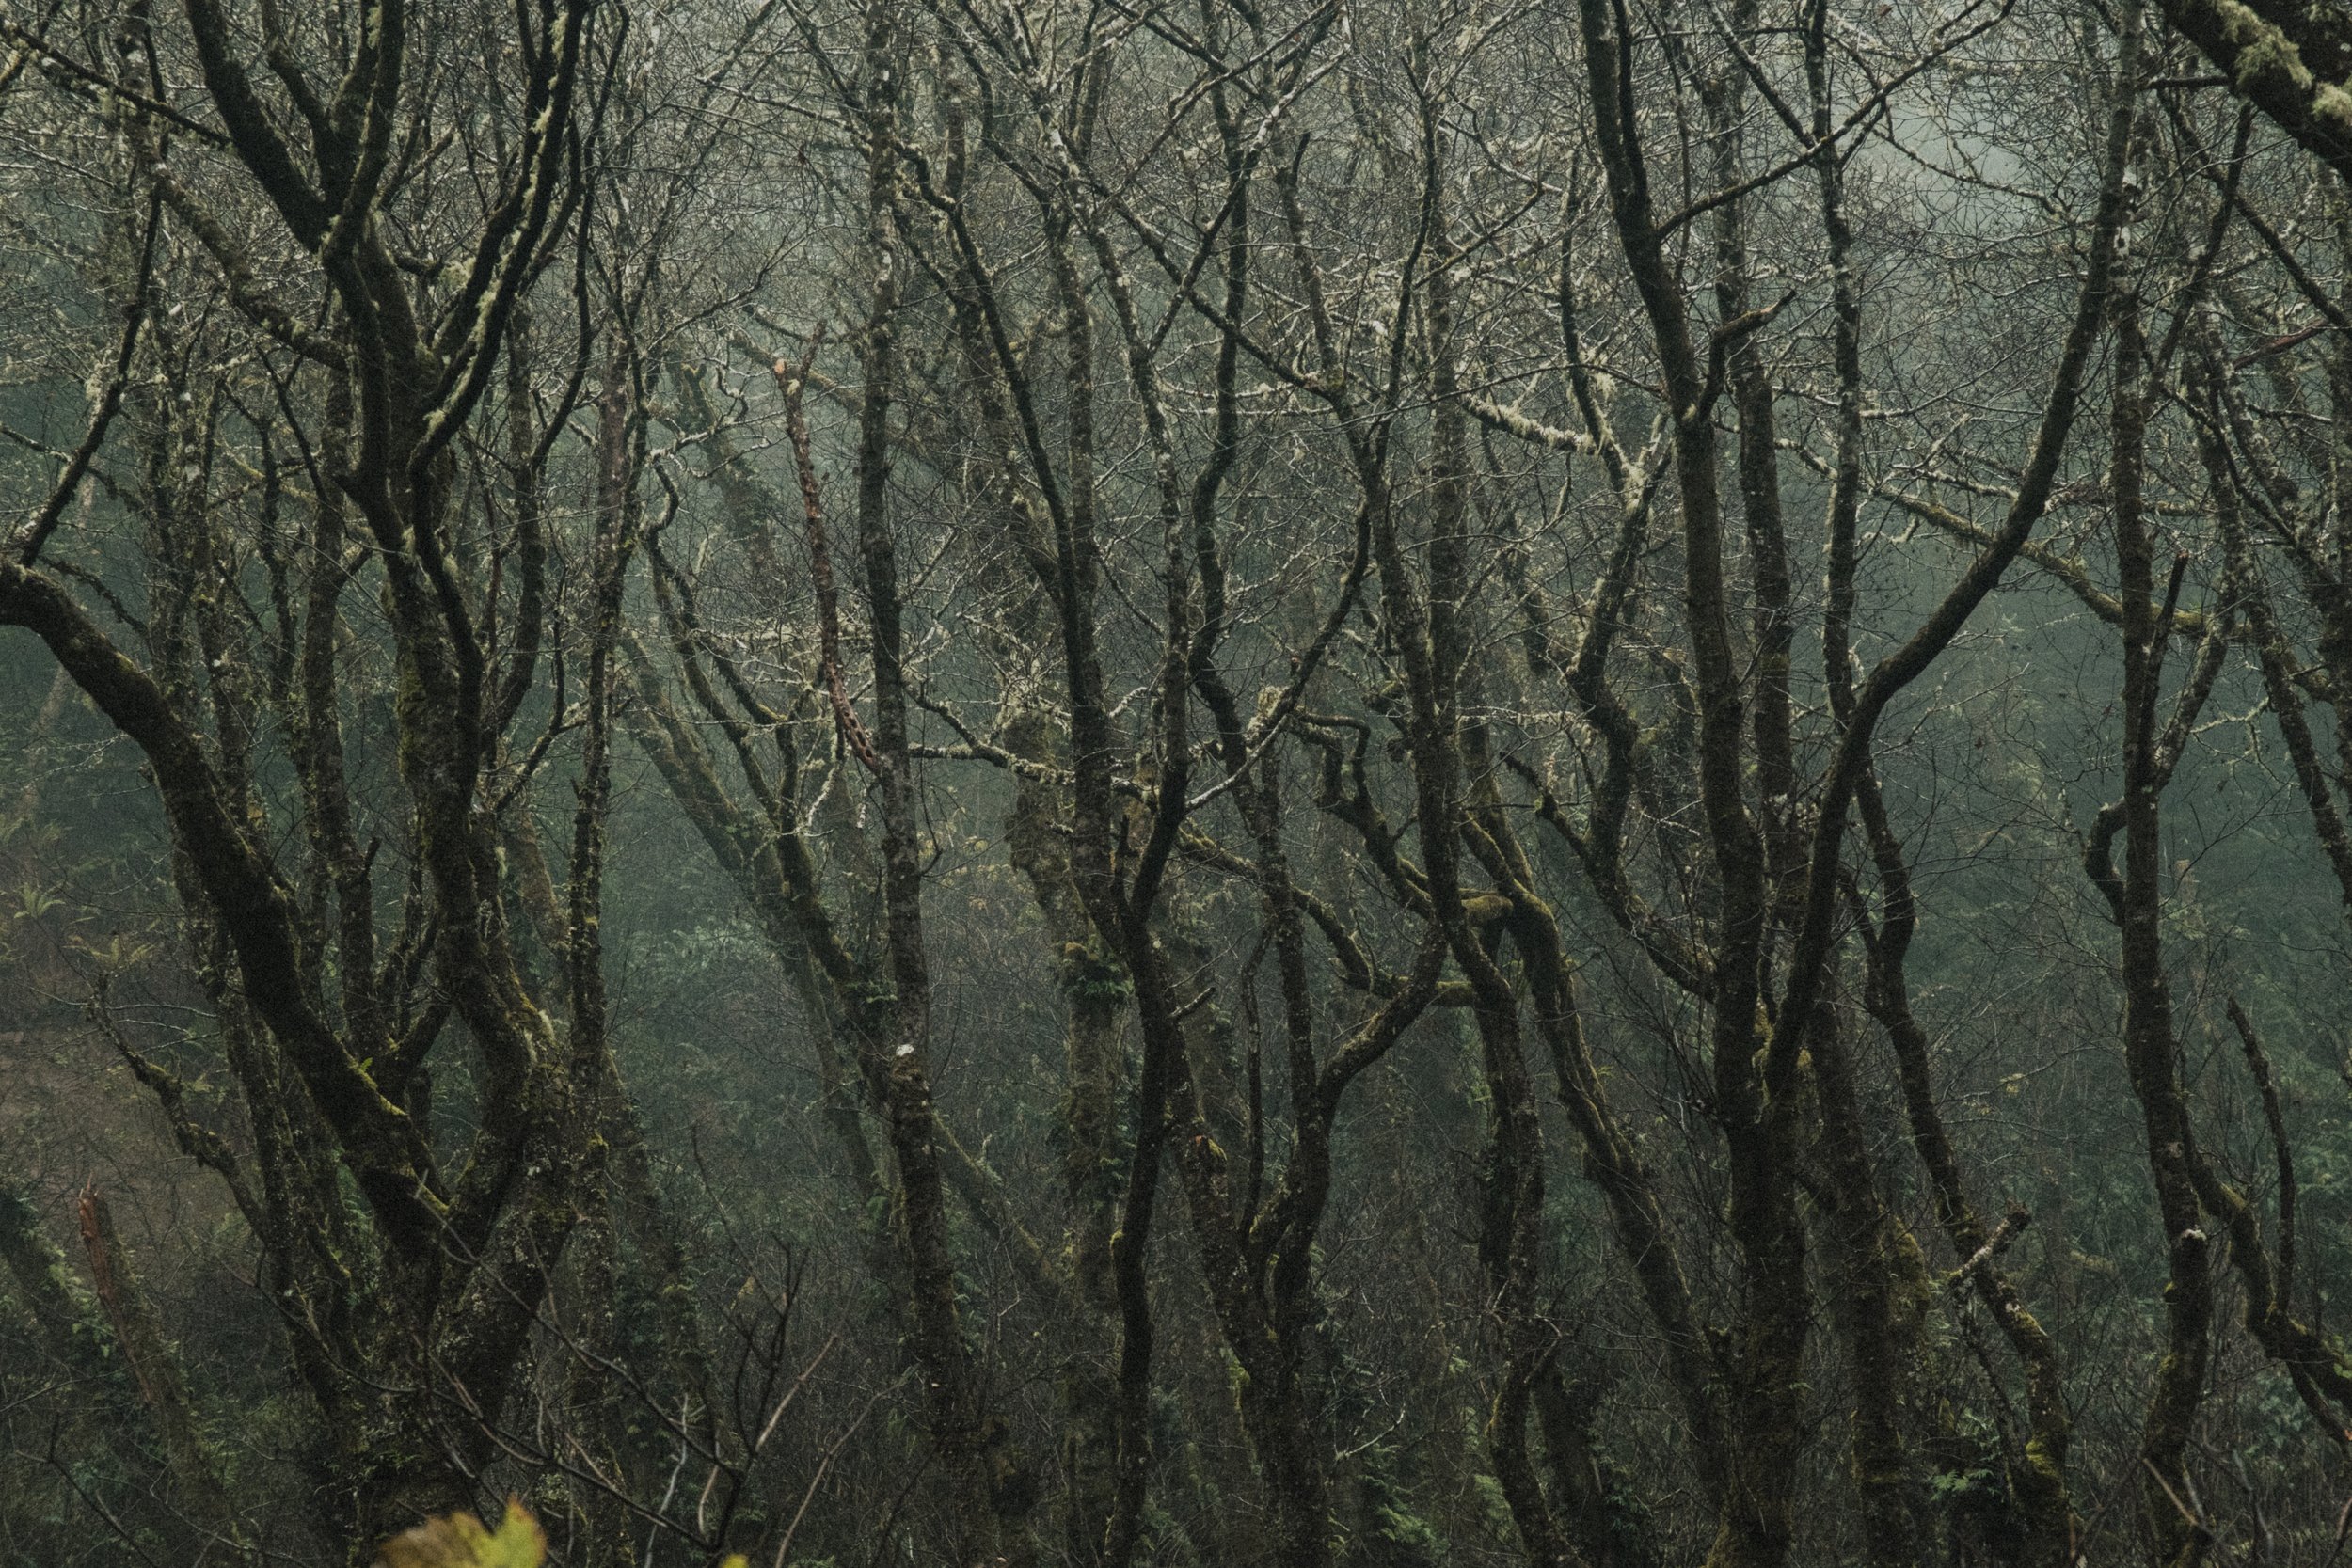

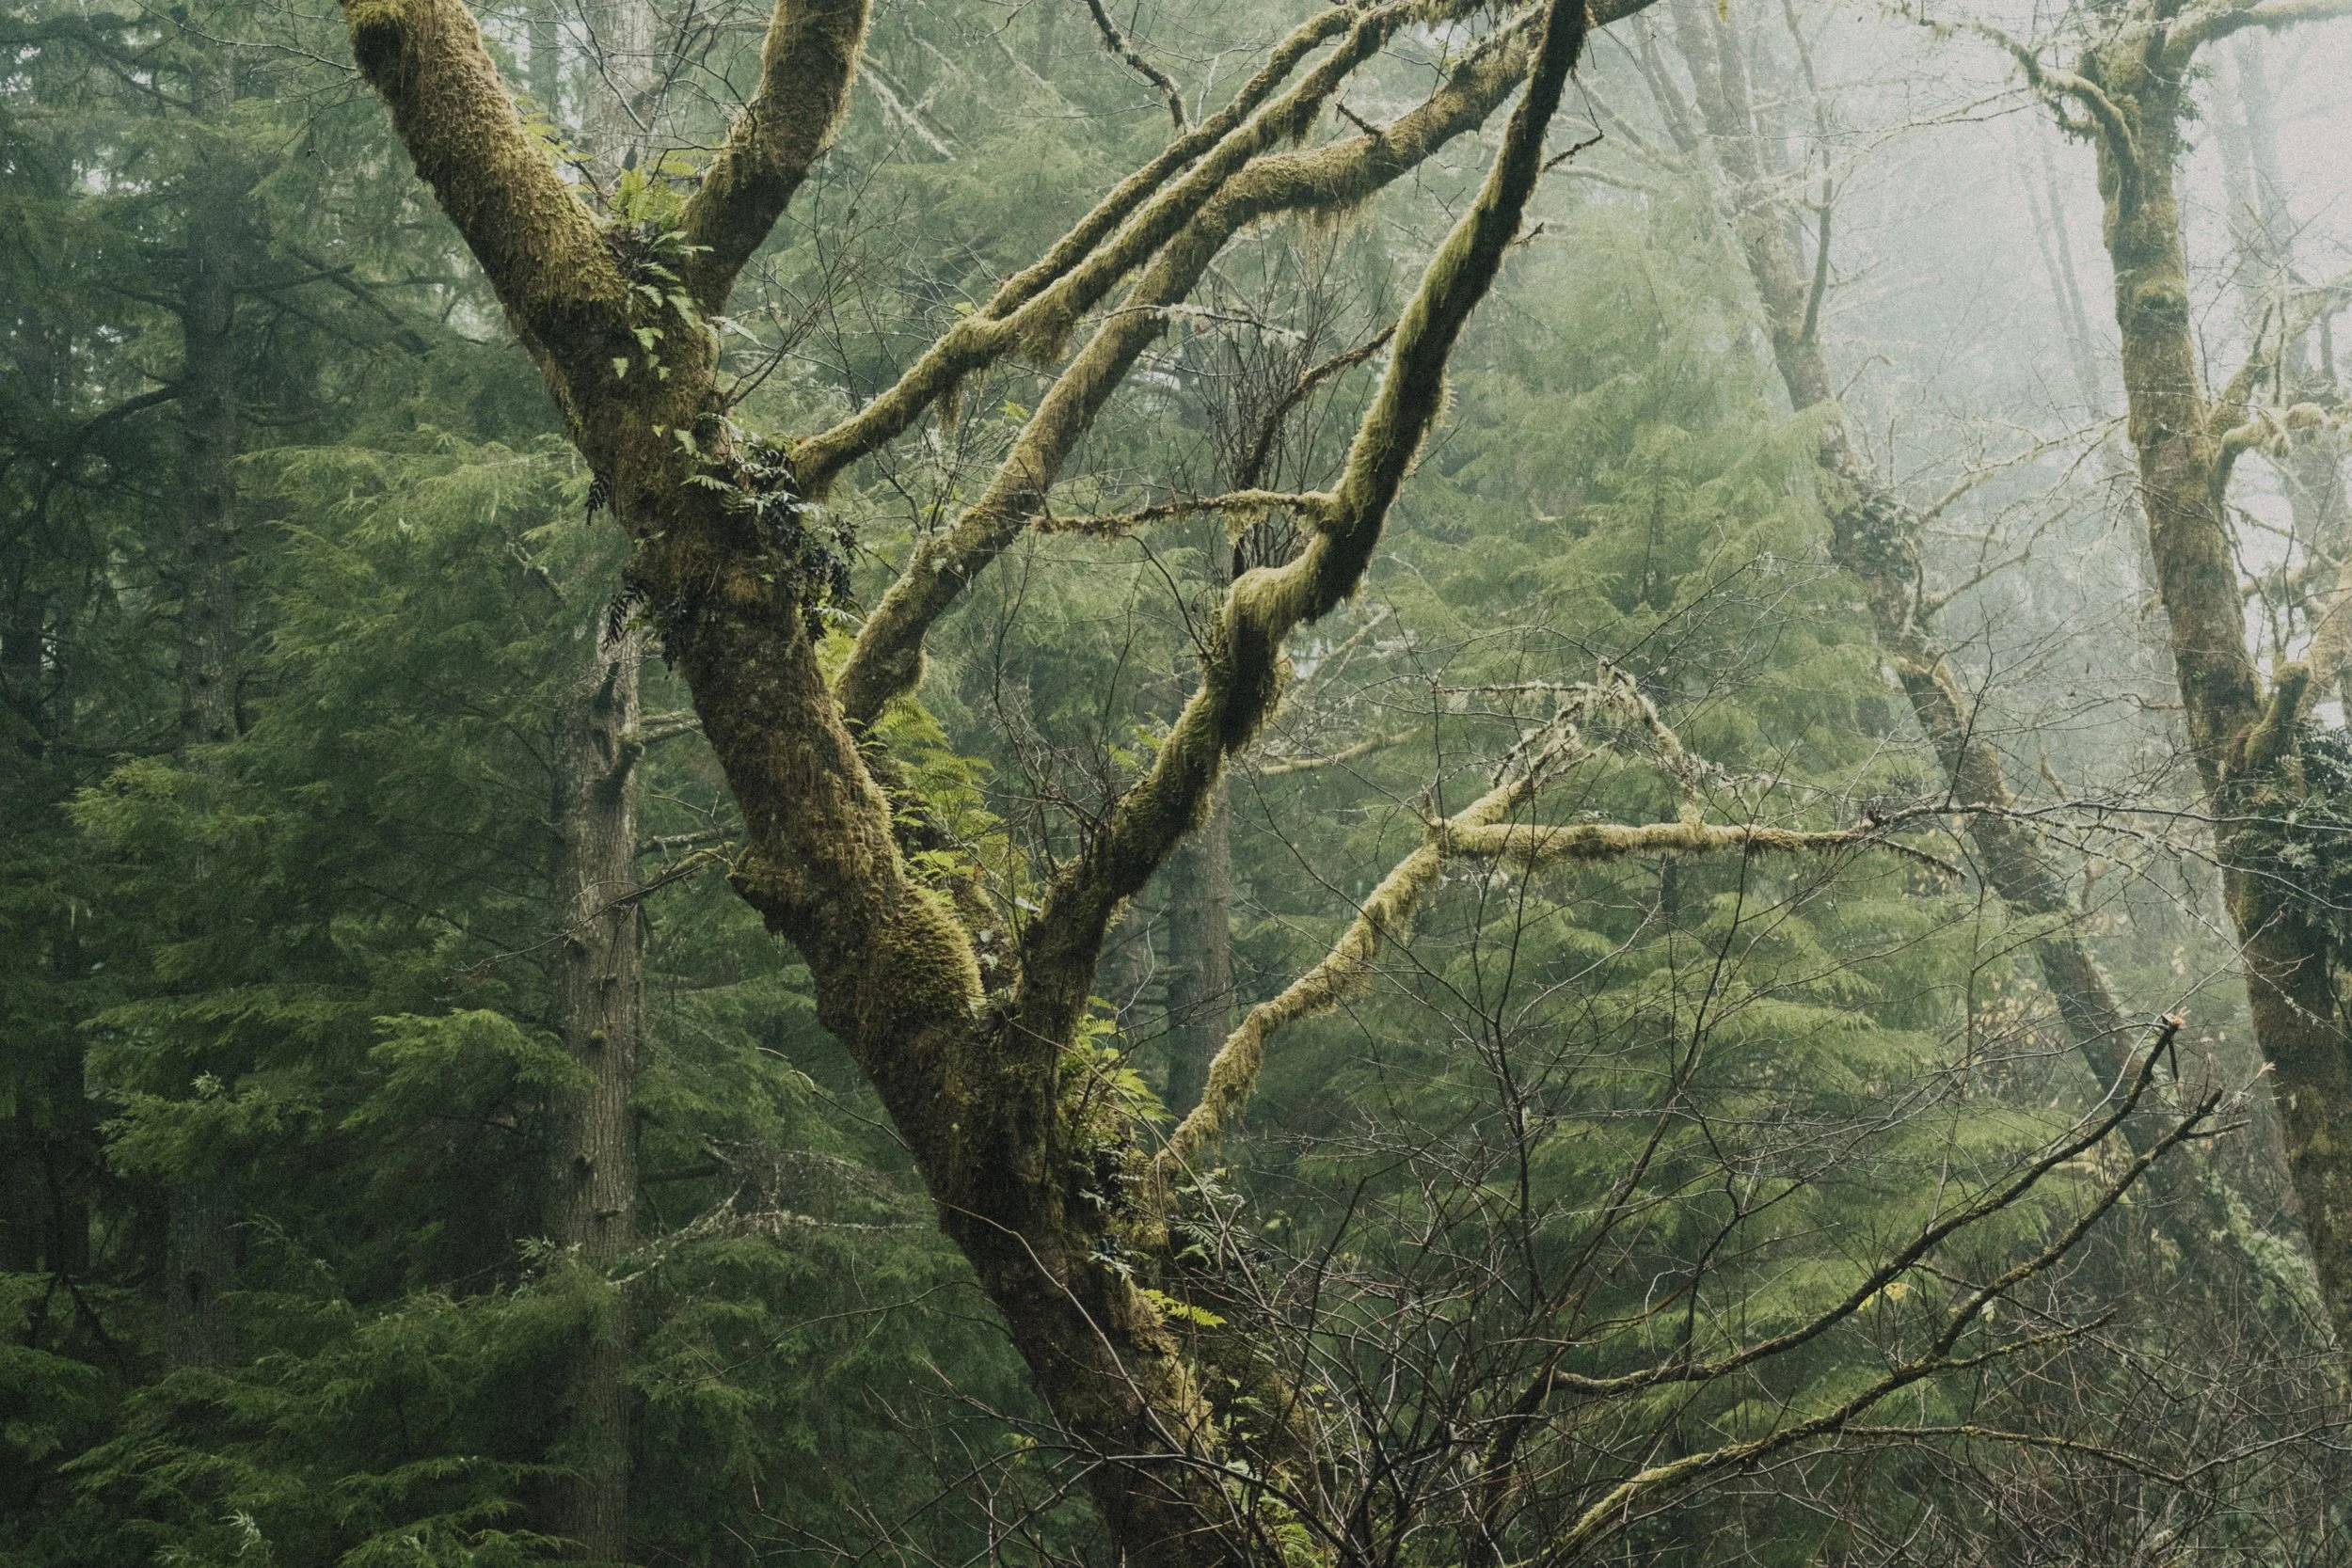
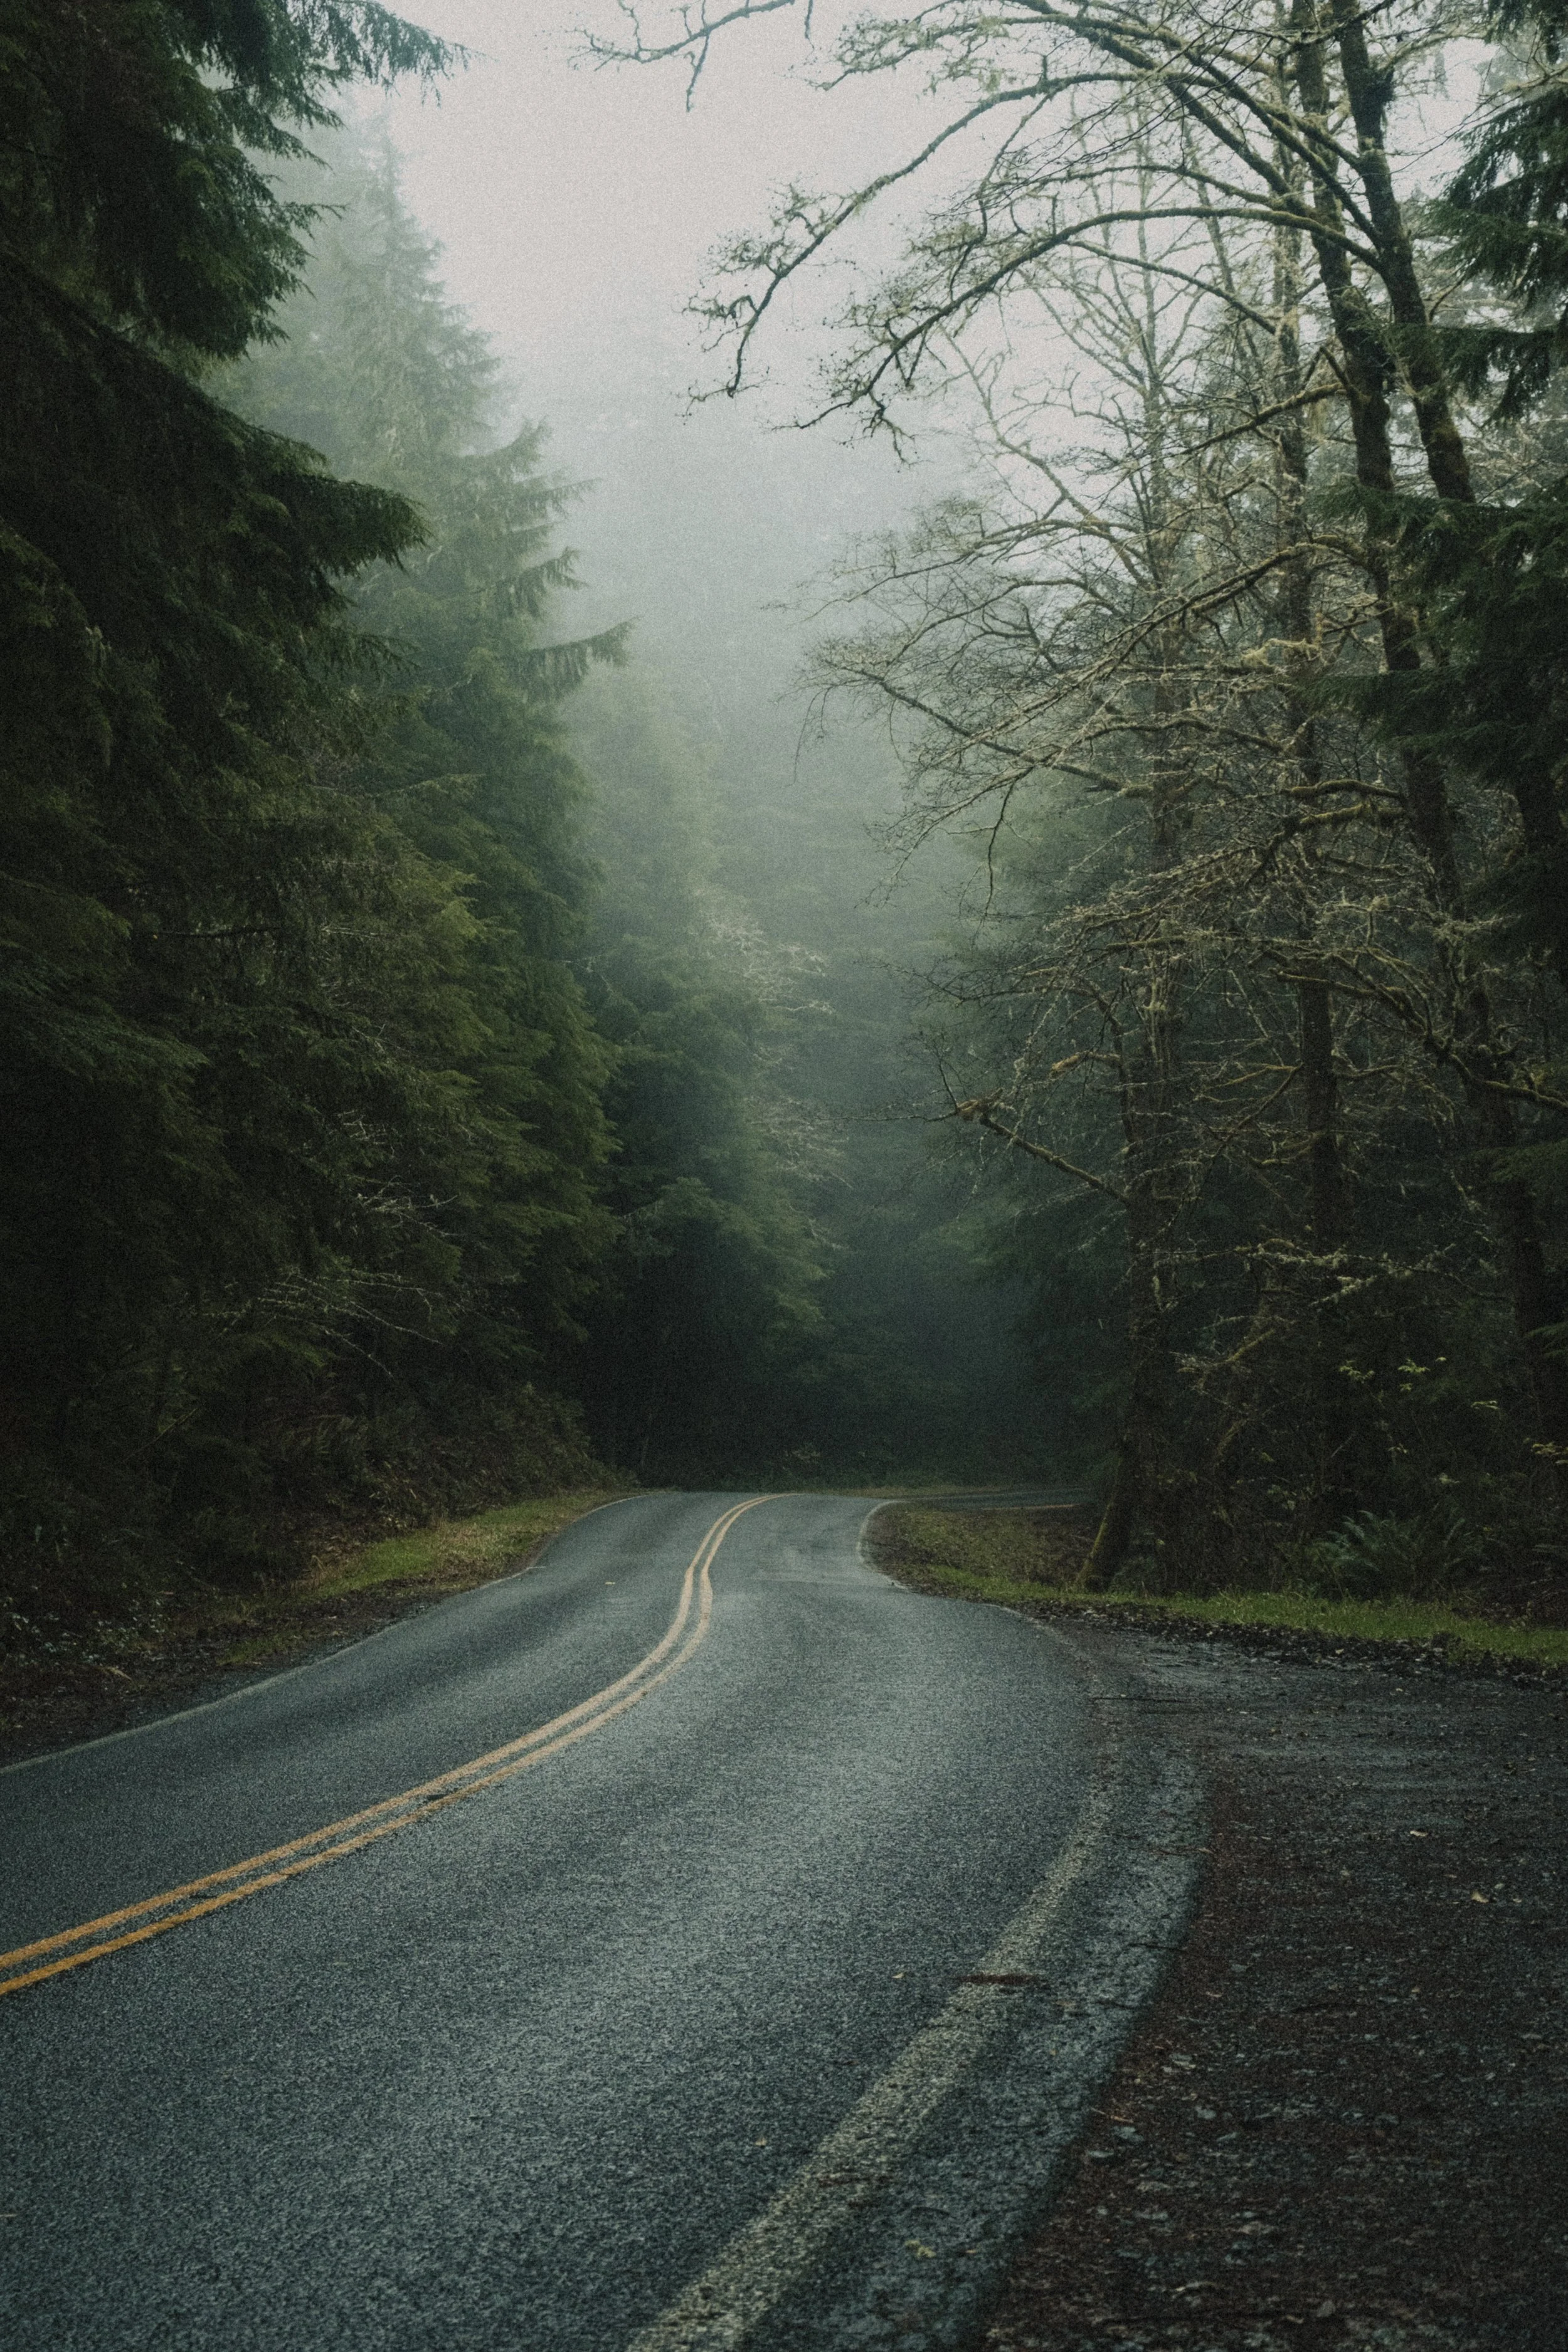
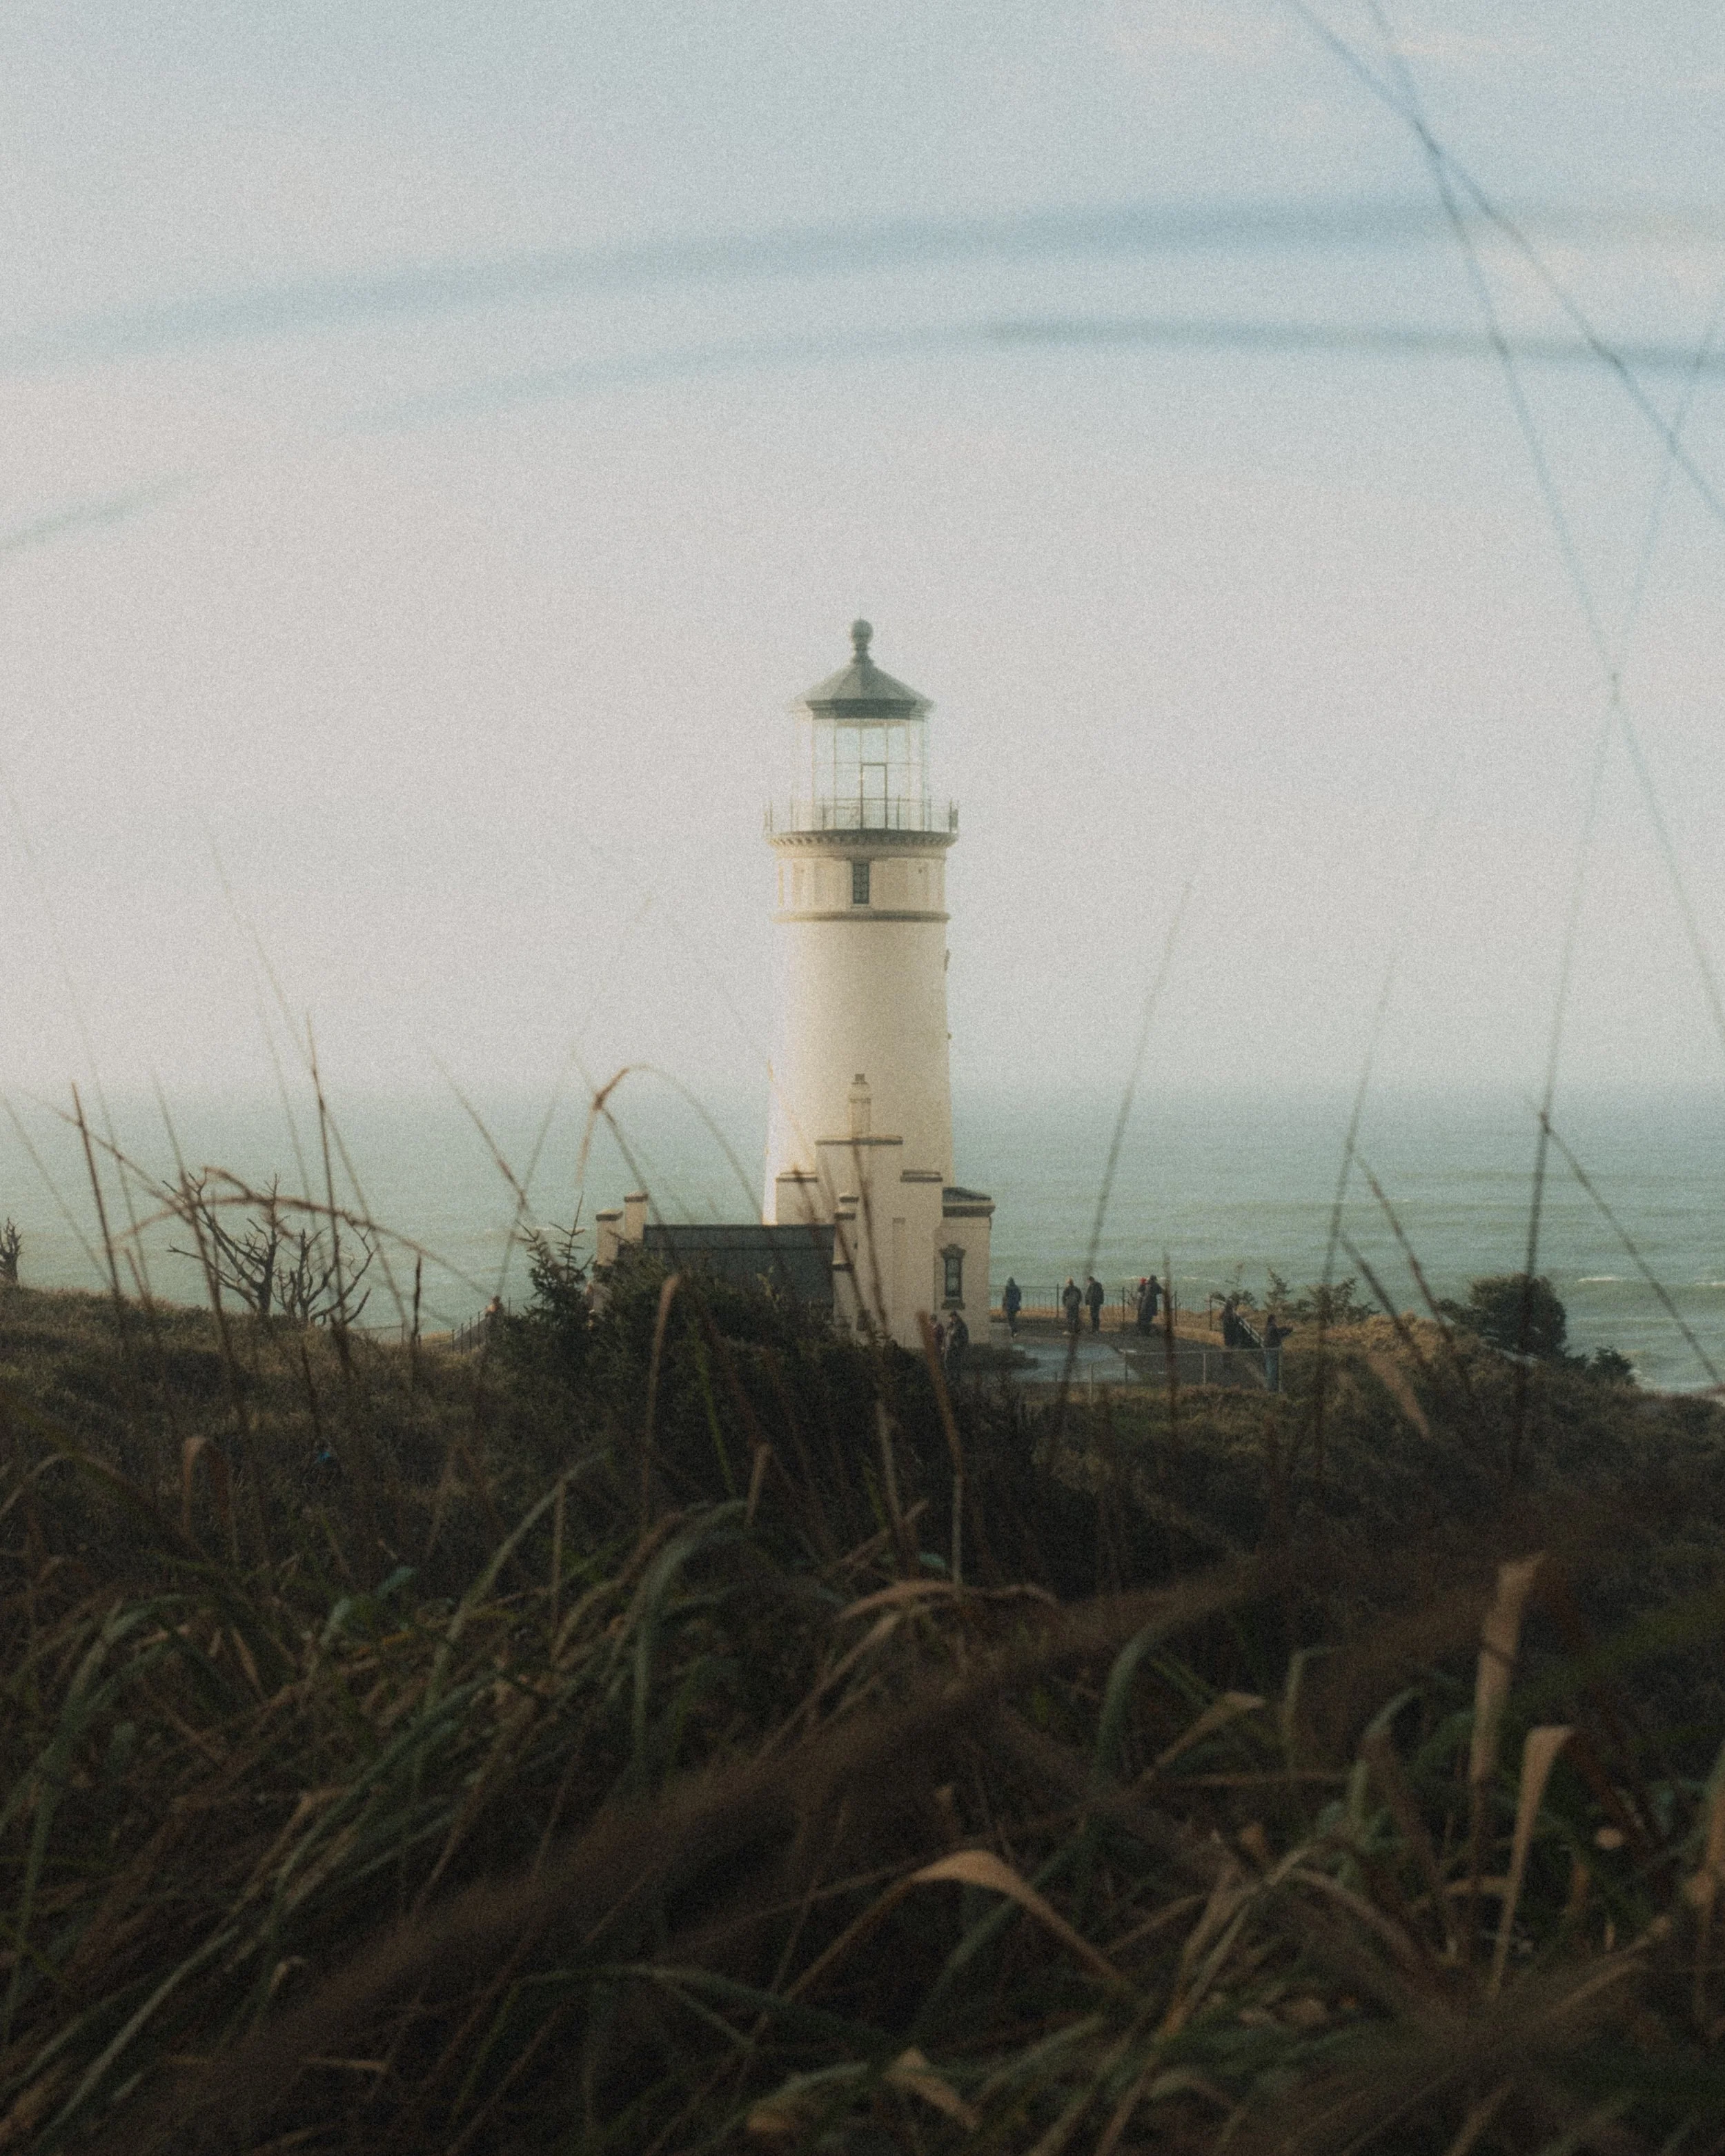
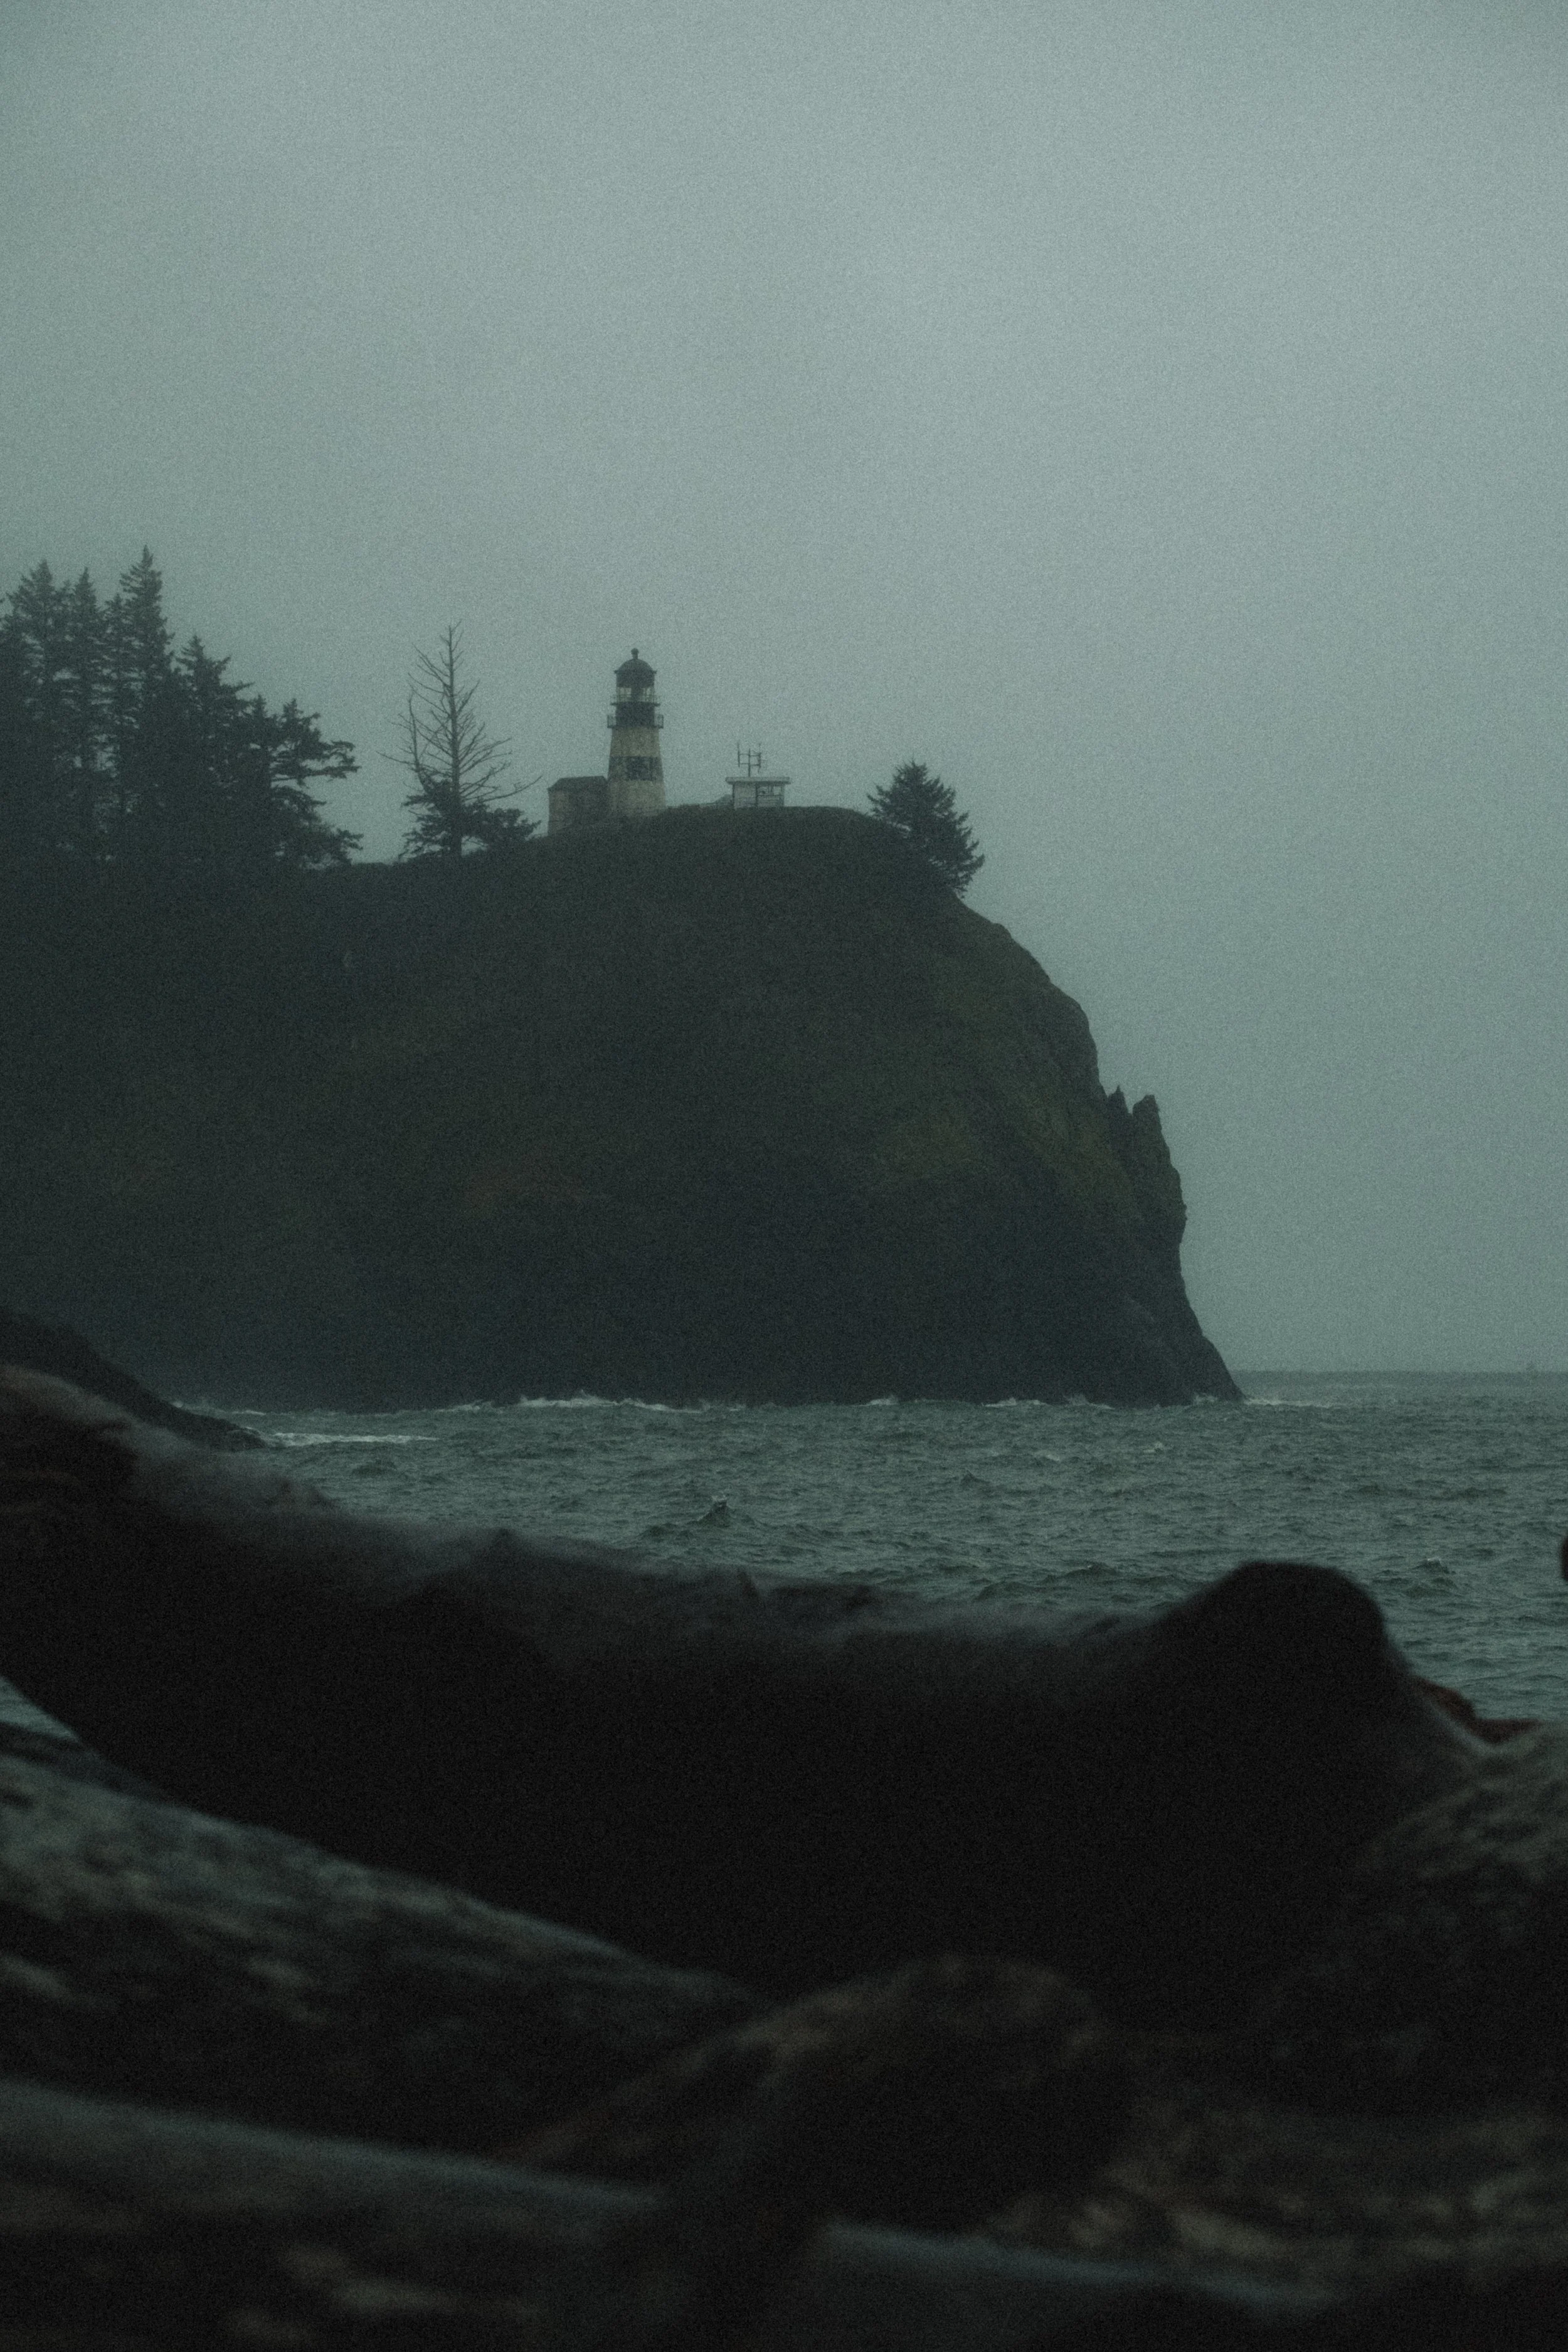
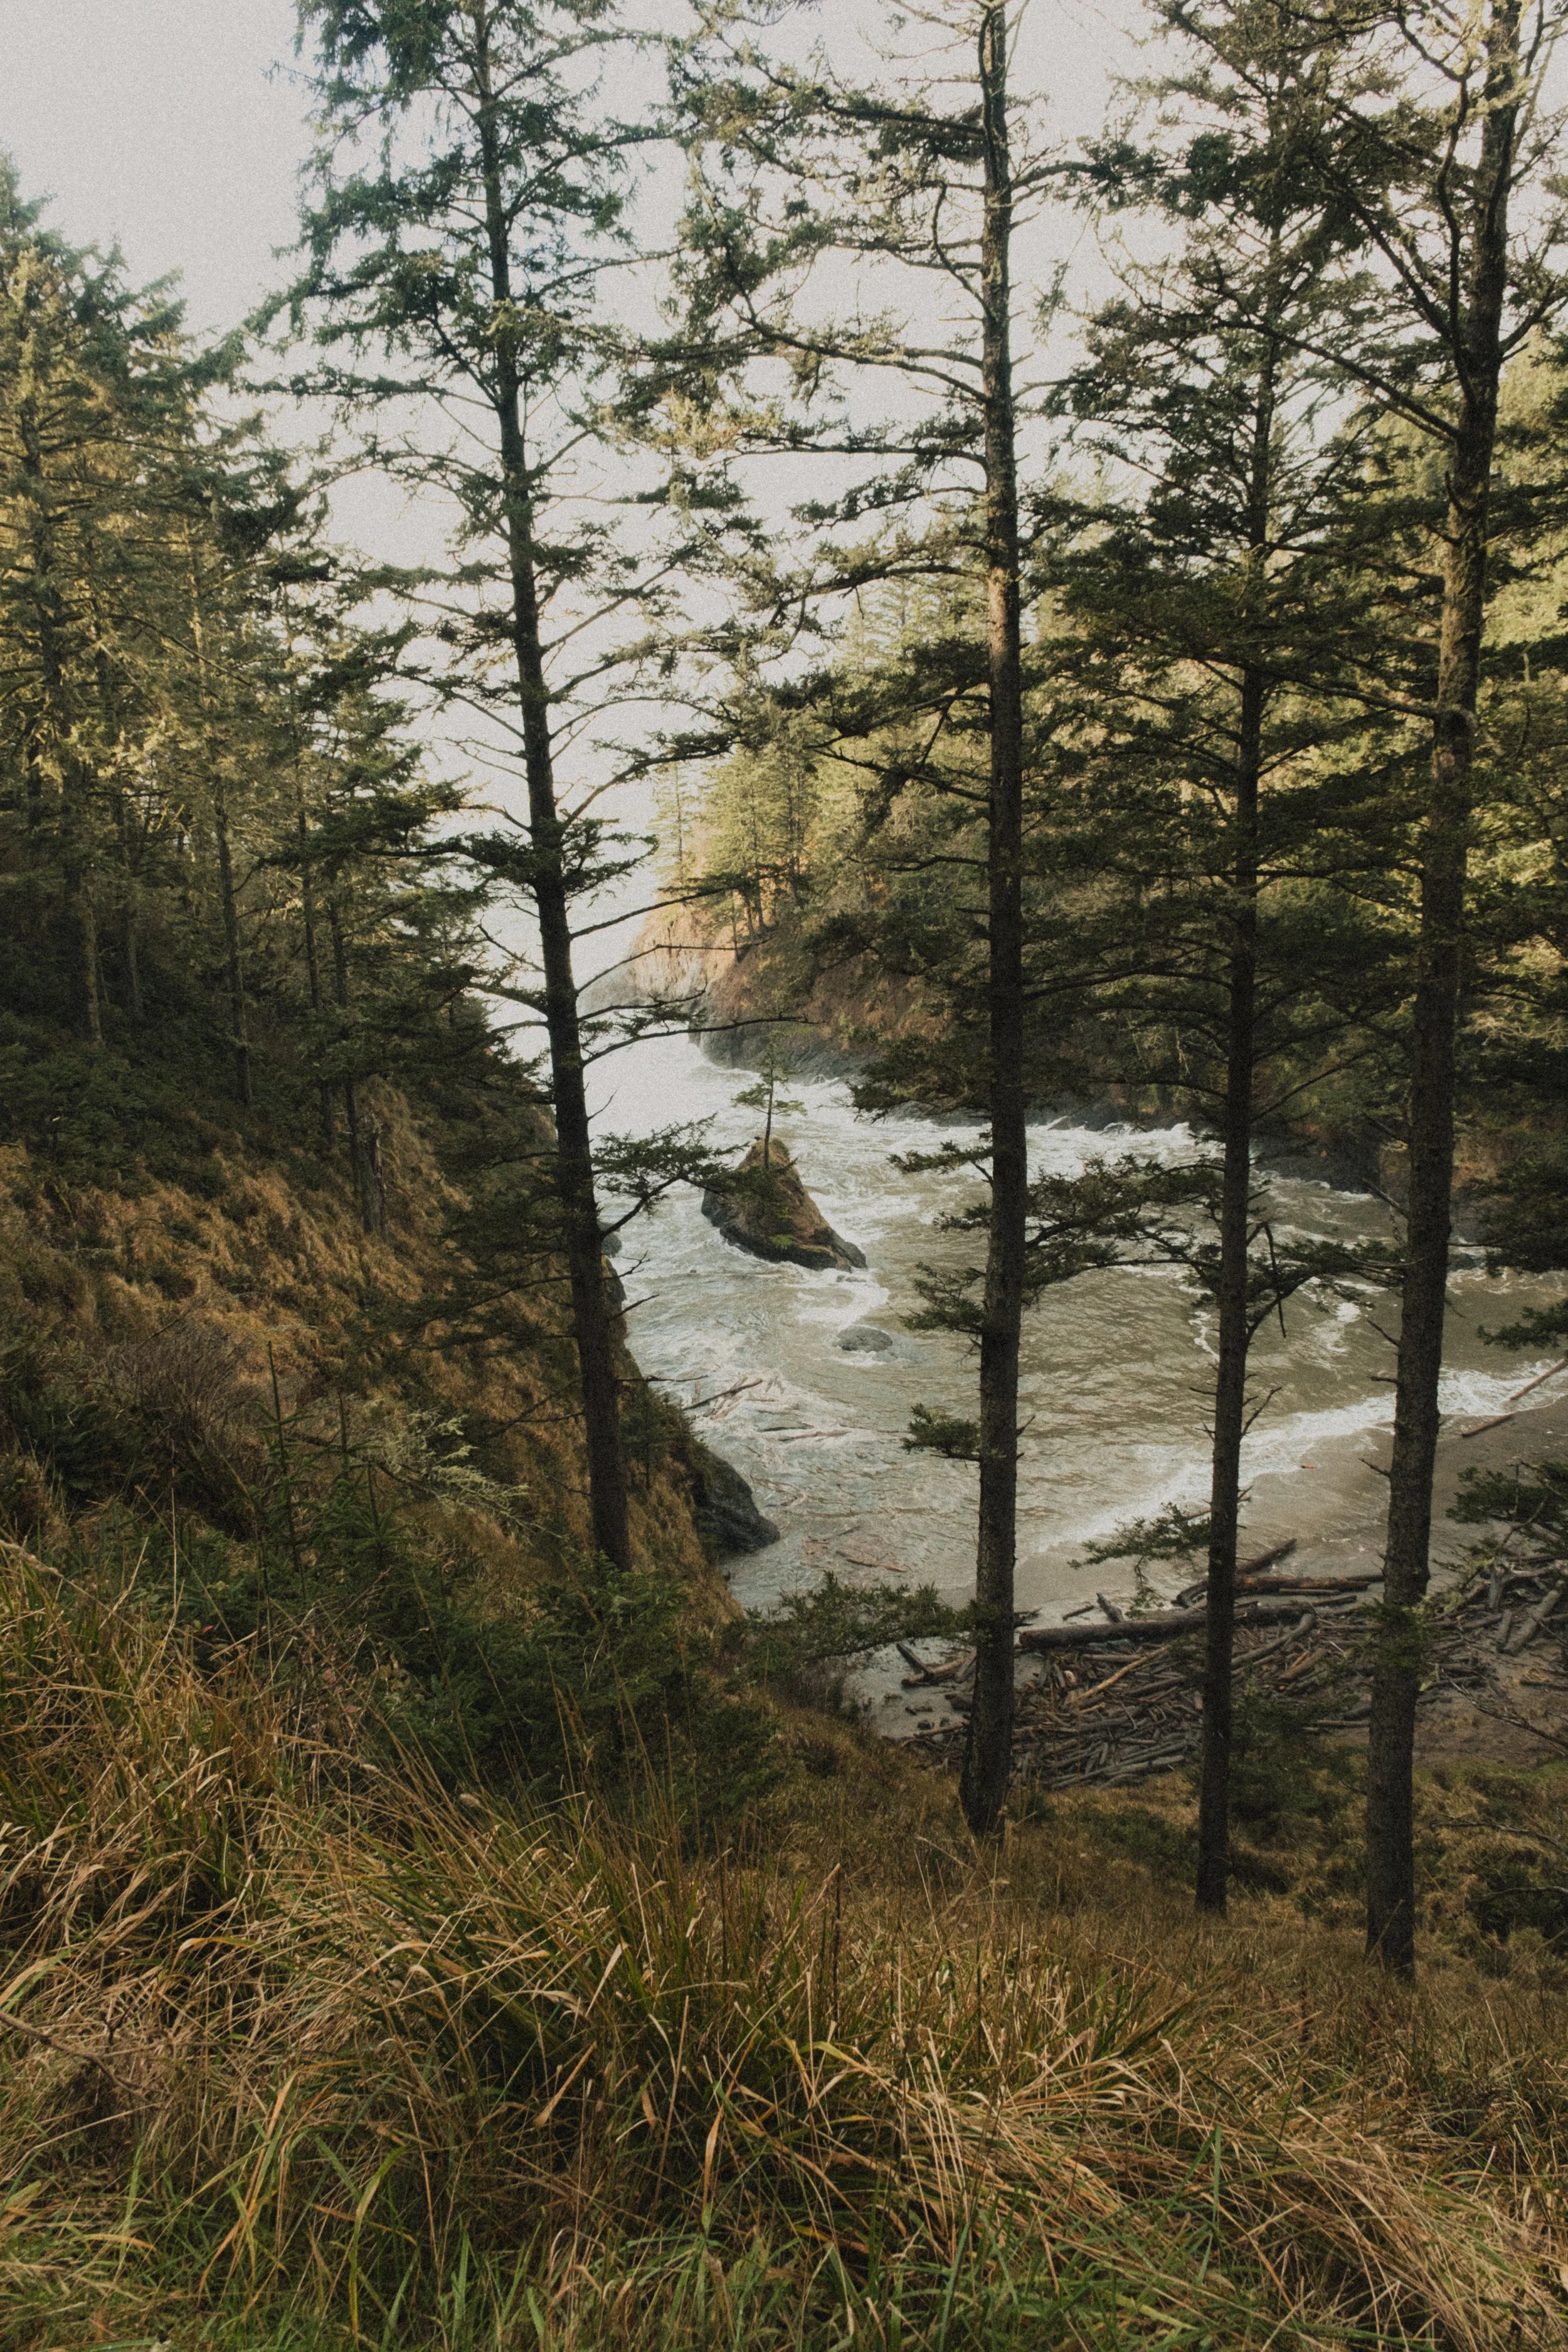
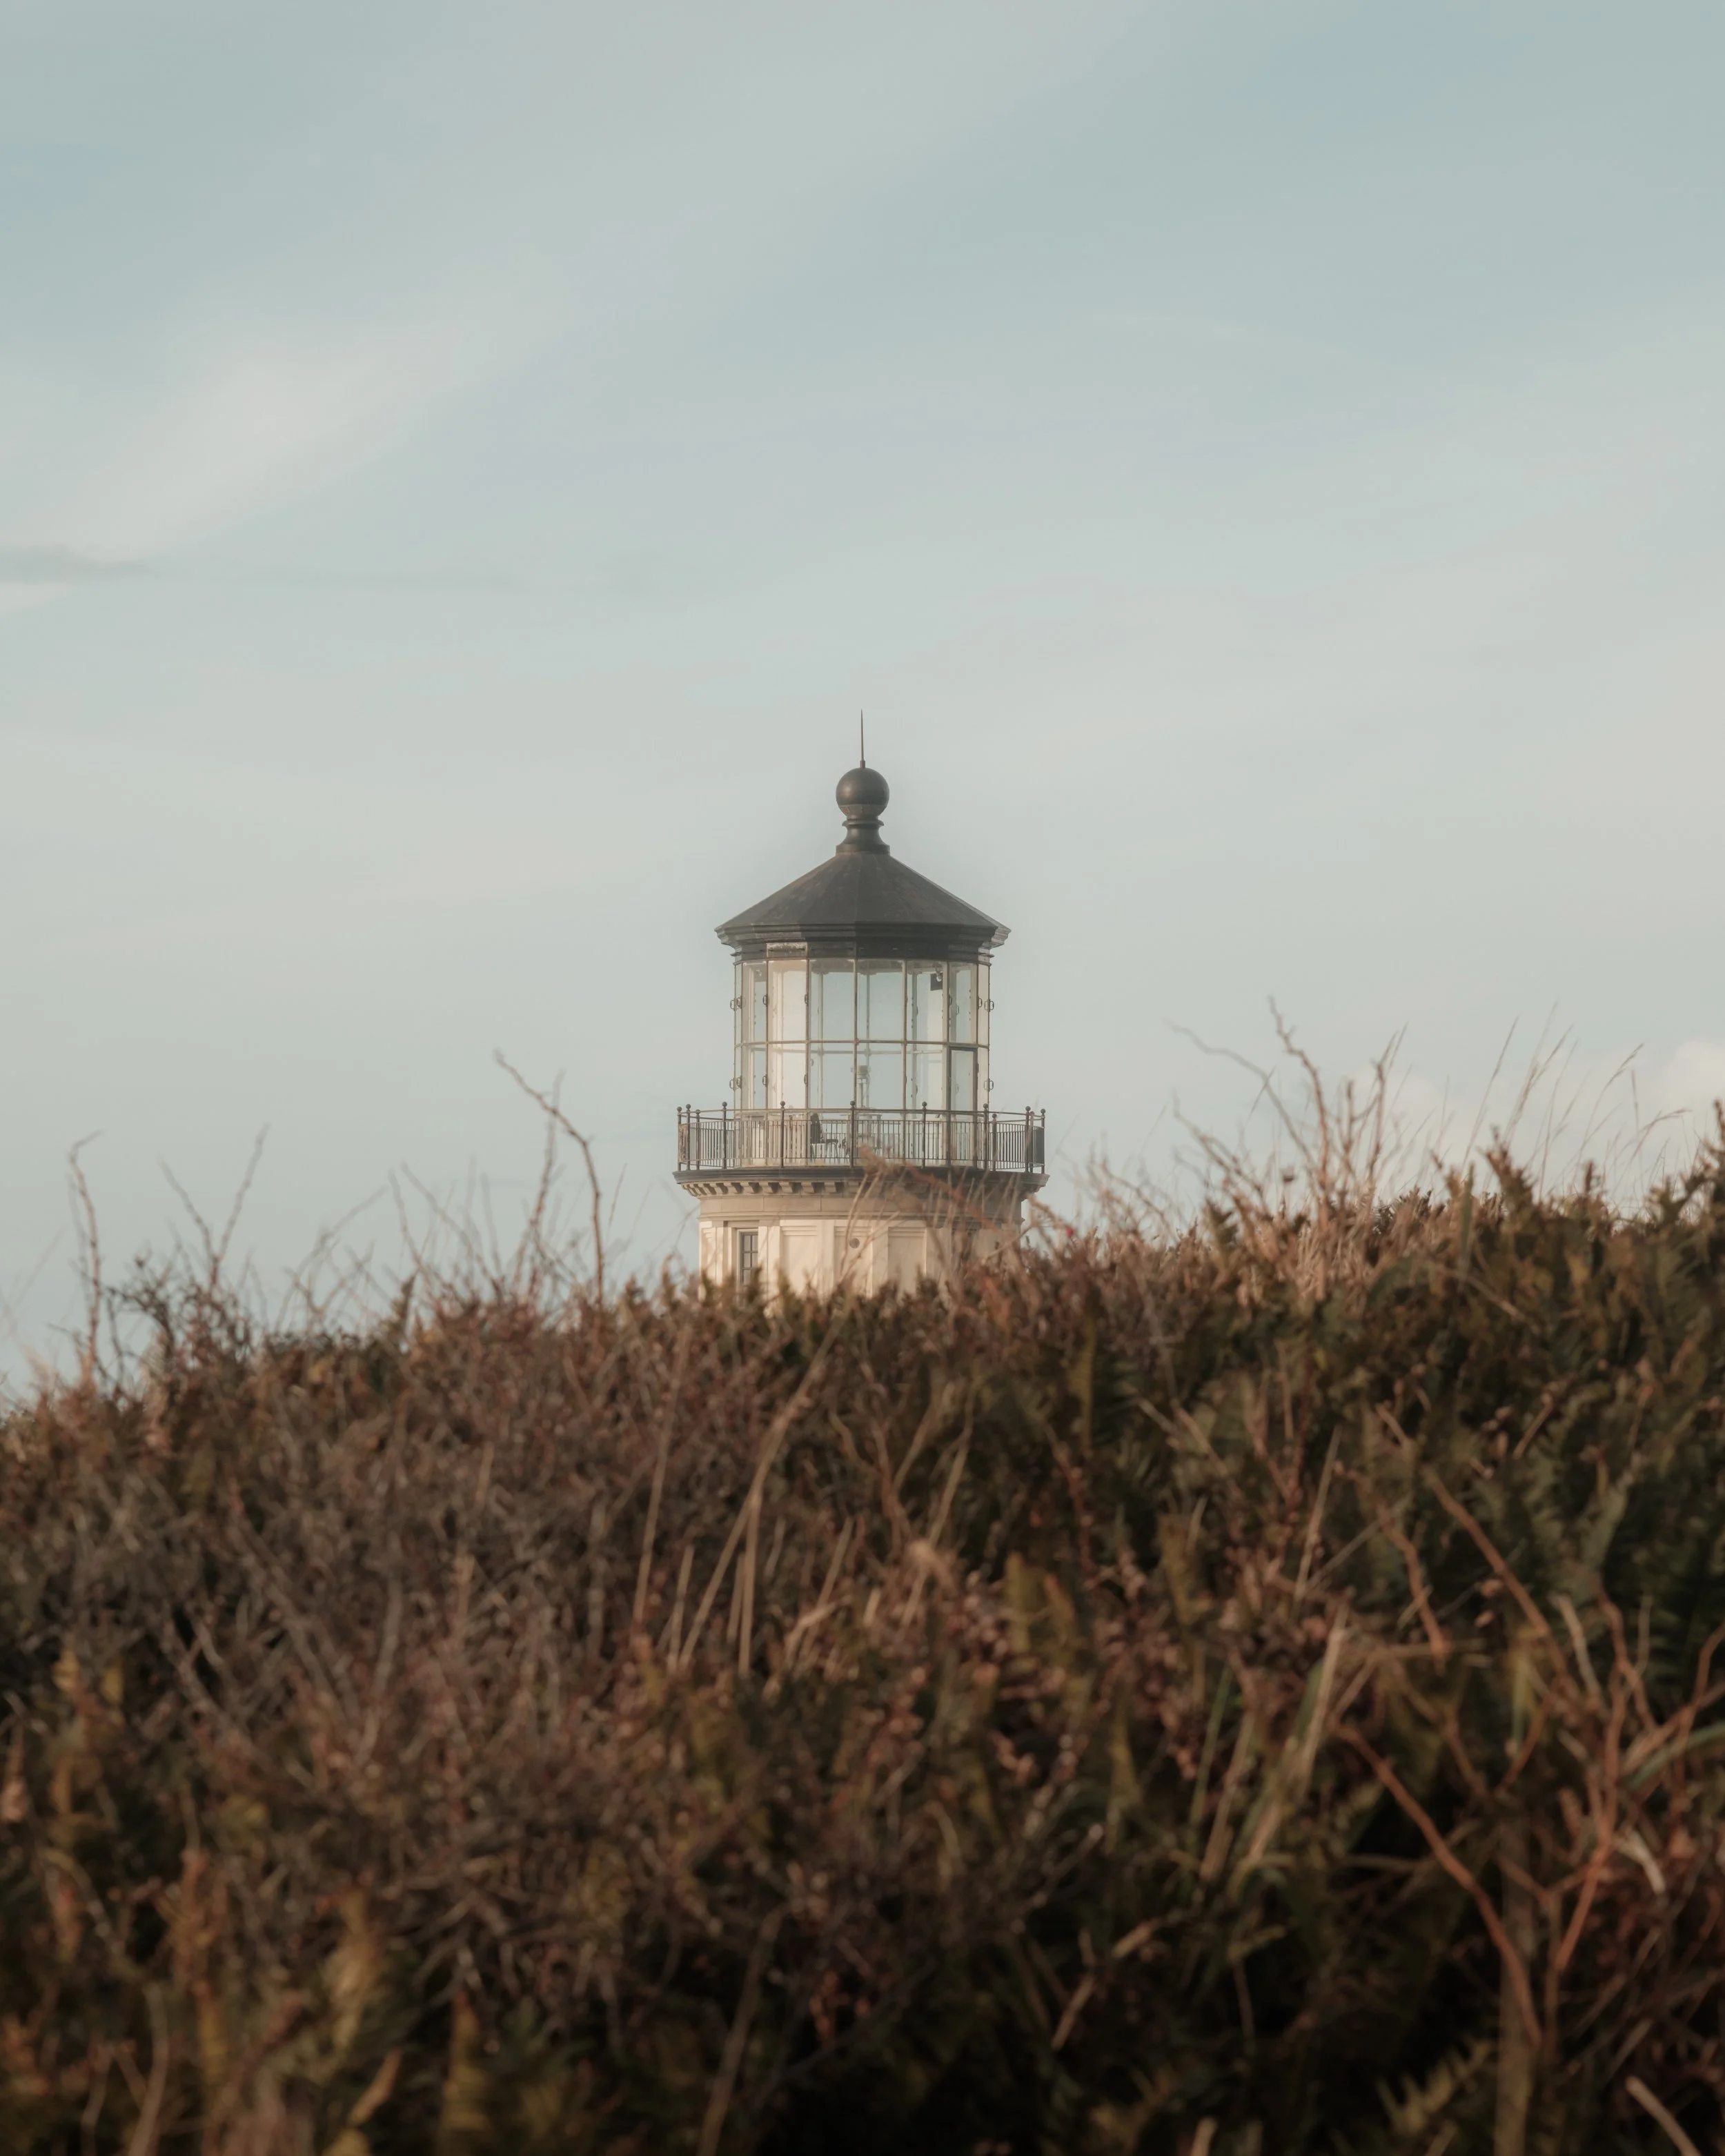
Ready to experience Washington’s coast at its most dramatic? Join me for my King Tide Photo Workshop this winter, 2027. We’re gonna get wet, photograph some epic waves, and enjoy some warm and cozy nights learning about photo editing and photography in our Astoria accommodations.
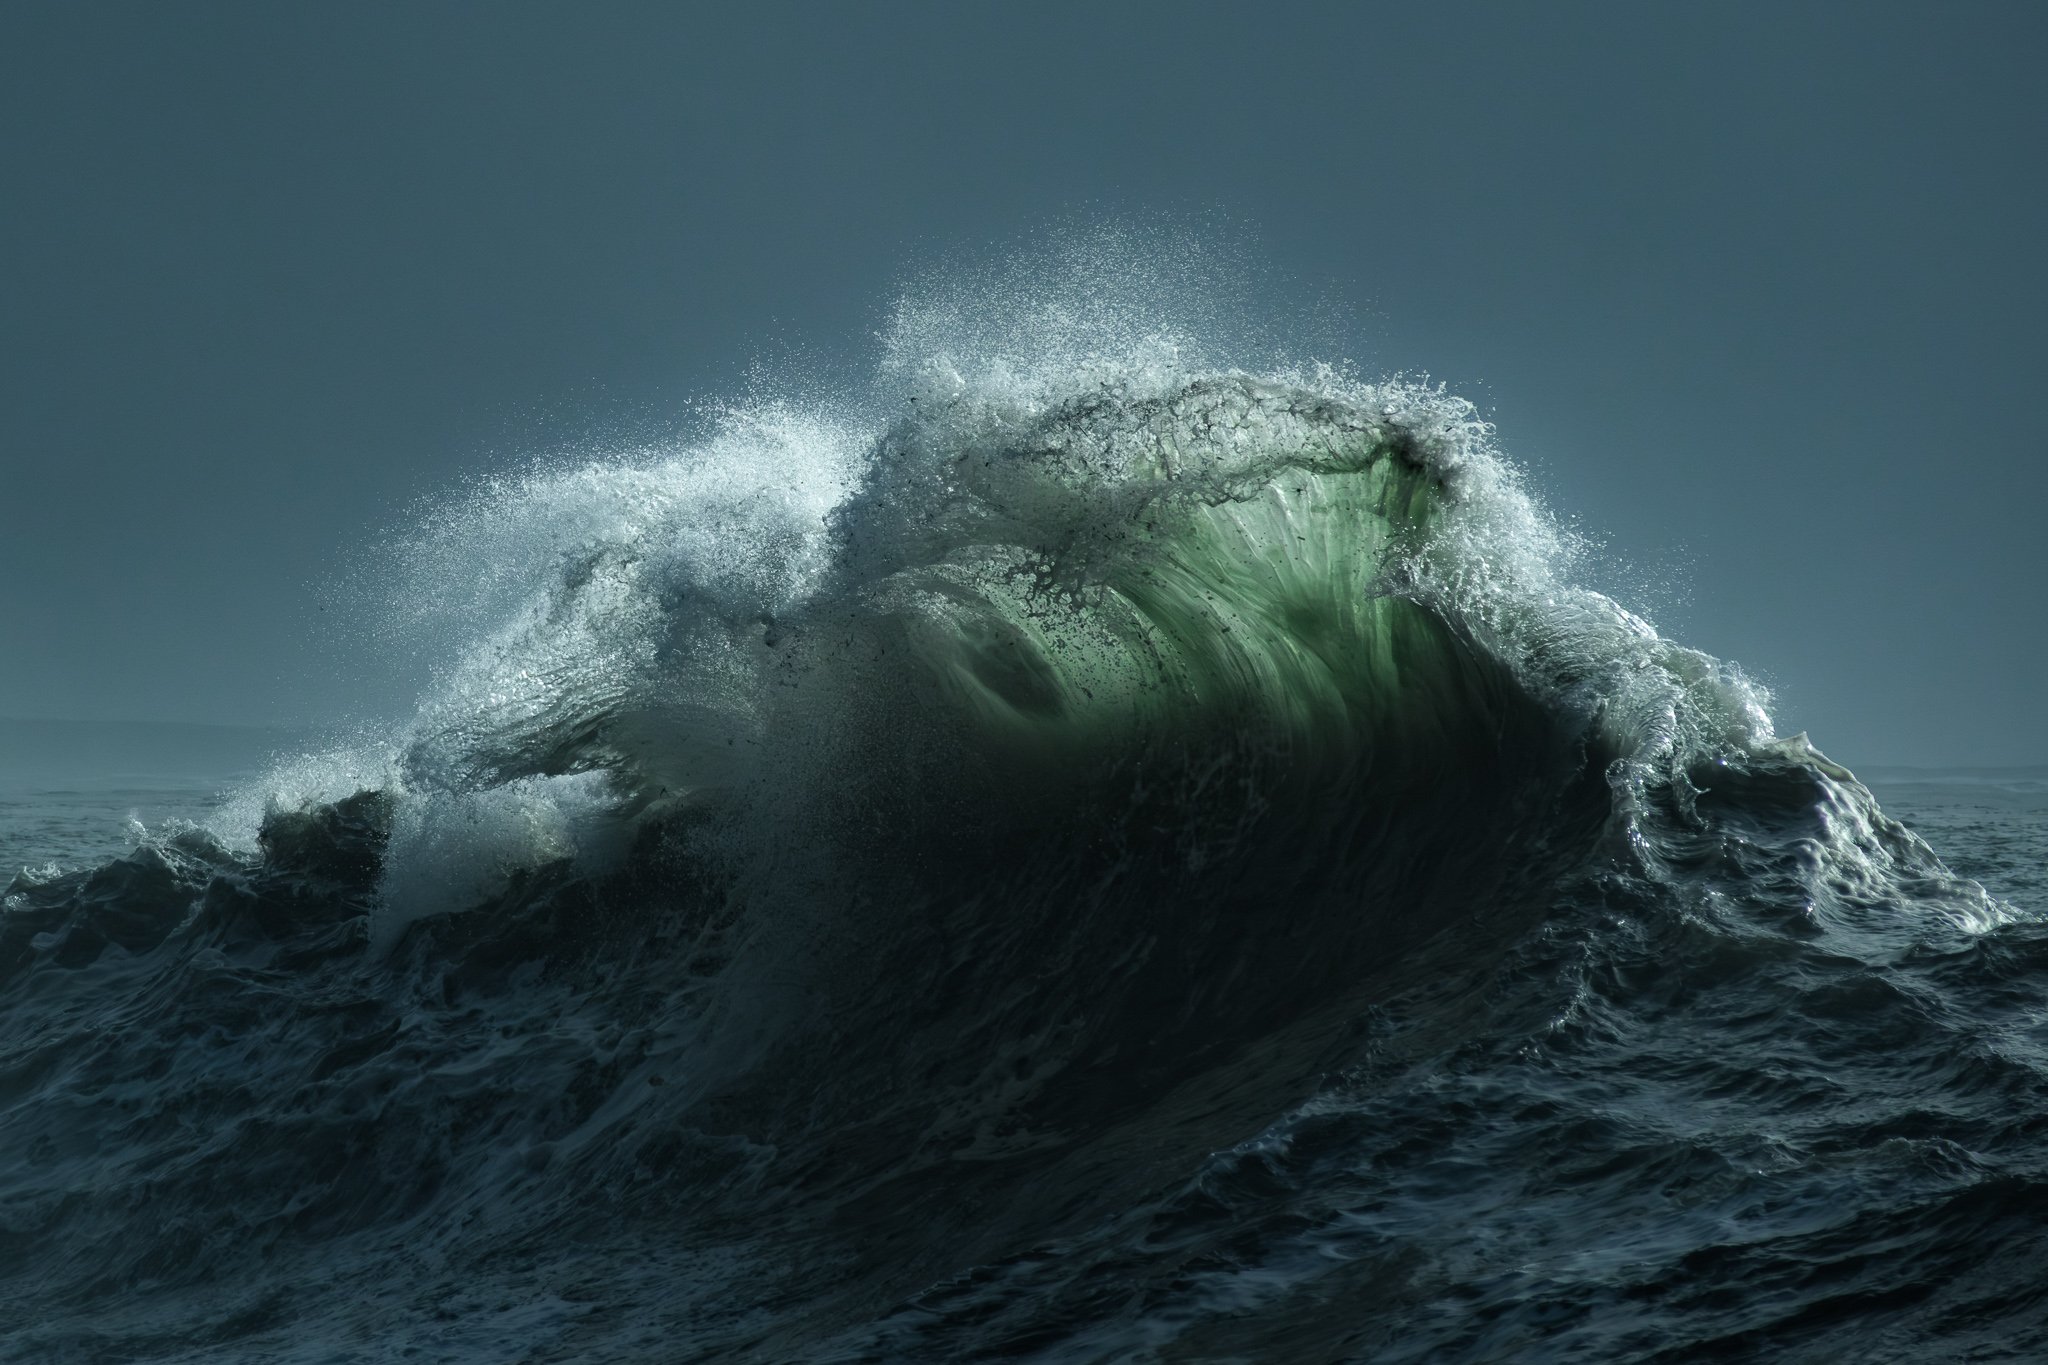
Another Photographer, Kristar Burton, has some amazing photos of this spectacle: https://www.kristarphoto.com/gallery-coast